Step 1: Sign Into Easy-Peasy.AI and Configure Your Chatbot
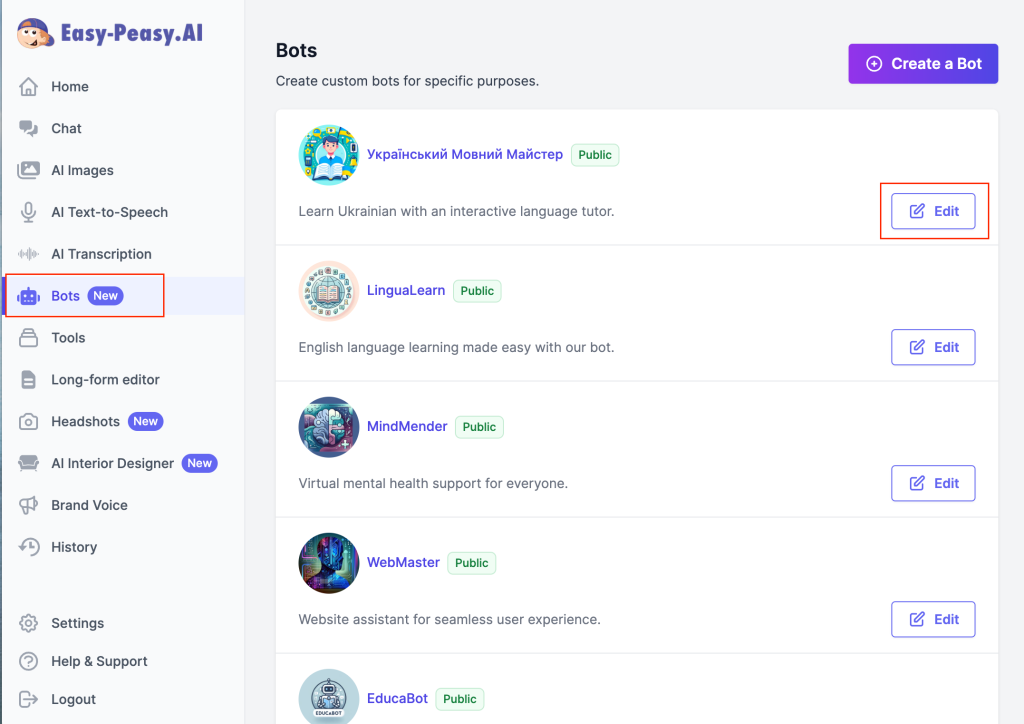
To integrate an Easy-Peasy.AI Bot into your WordPress website, you first need to sign into your Easy-Peasy.AI account. If you don’t have an account, you can create one for free. Navigate to the Bots page from the dashboard menu and select the Bot that you would like to add to your WordPress website.
Step 2: Install Easy-Peasy.AI Plugin on Your WordPress Website
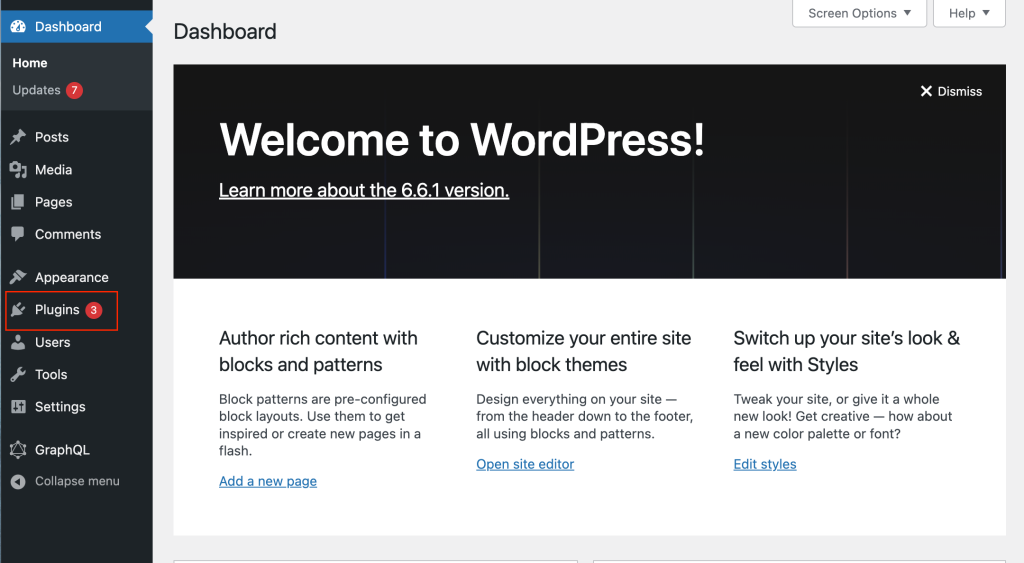
1. Log in to your WordPress admin dashboard:
Navigate to your dashboard, typically via yourdomainname.com/wp-admin/. You can also access this through your web hosting control panel.
2. Install and activate the Easy-Peasy.AI plugin:
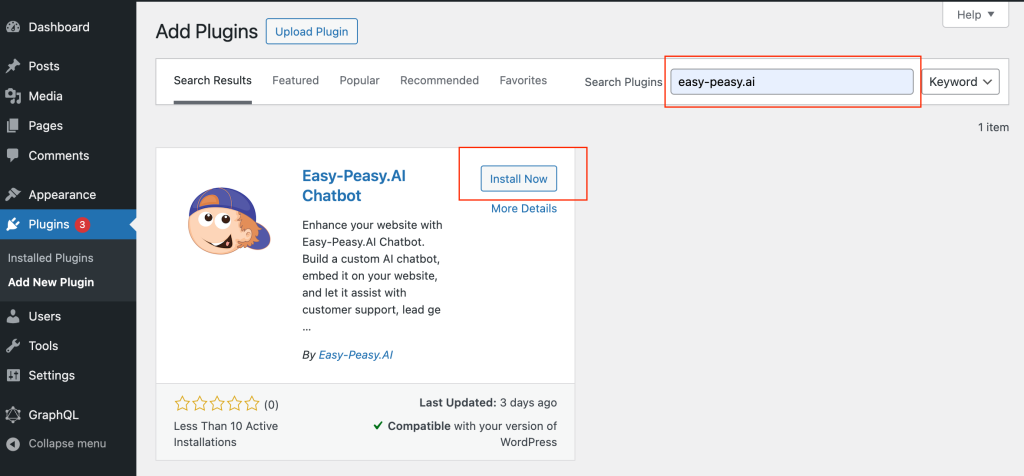
- In the left sidebar of your WordPress admin dashboard, click on “Plugins”.
- Click “Add New” at the top of the next page.
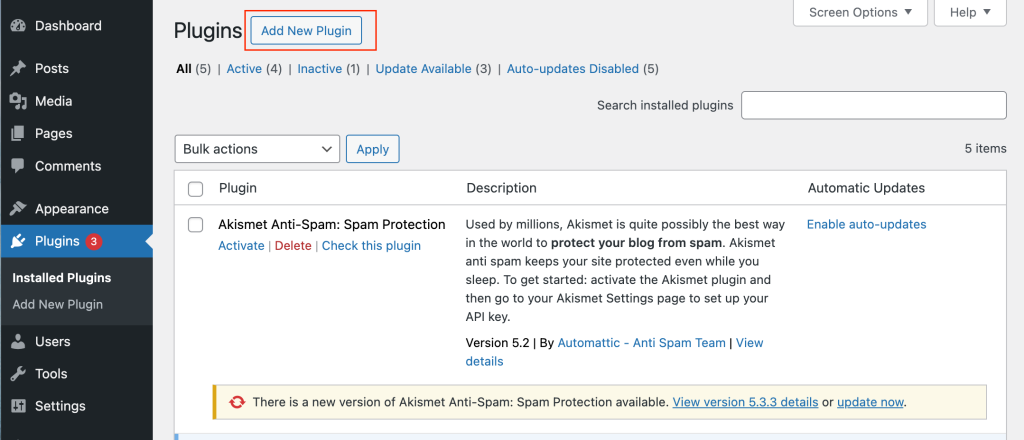
- In the search bar, type “Easy-Peasy.AI” to find the plugin.
- Find the Easy-Peasy.AI WordPress plugin, click “Install Now”, and then “Activate”.
3. Add your Chatbot ID:
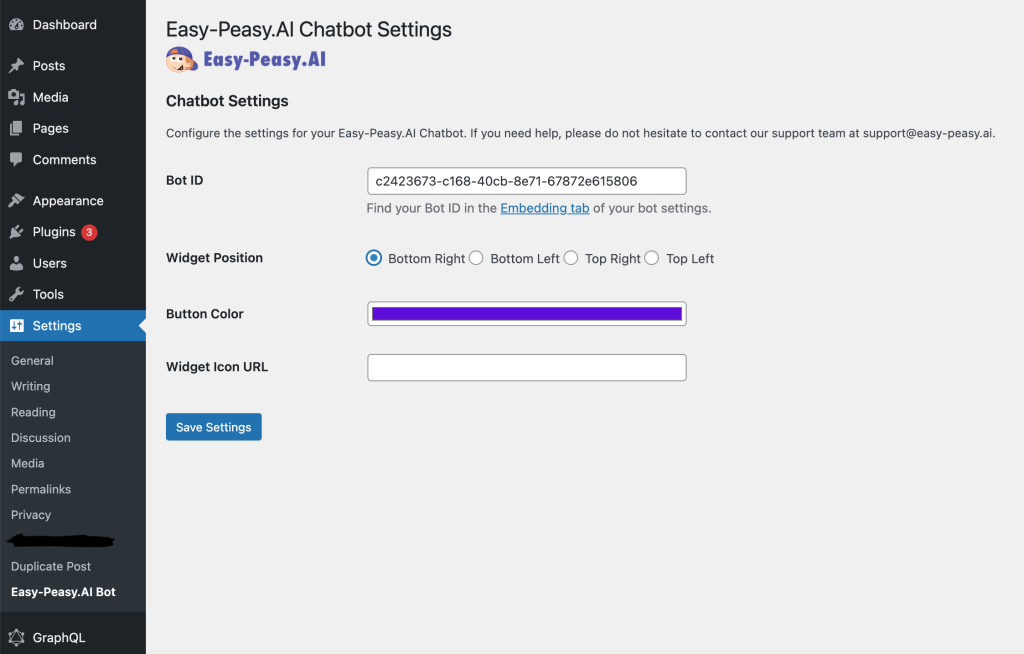
- In the left sidebar of the WordPress Admin dashboard, click “Settings”.
- Look for “Easy-Peasy.AI Bot” options and click on it.
- In the Easy-Peasy.AI settings, find the text box labeled “Bot ID”.
4. Copy and paste your Bot ID:
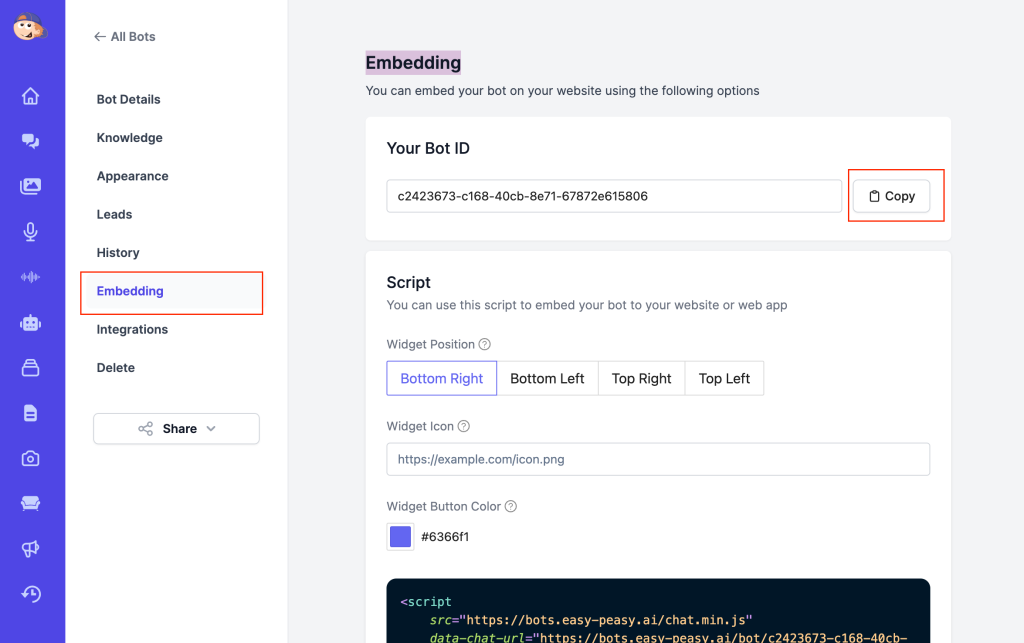
- Go to your Easy-Peasy.AI account and navigate to your Dashboard.
- Select the Bot you want to embed.
- Click on the “Edit”, then go to the “Embedding” page. At the top of the Embedding page, you’ll find the Bot ID. Copy it.
- Paste the copied Bot ID into the text box in your WordPress settings.
5. Save your changes:
- Click “Save Changes”.
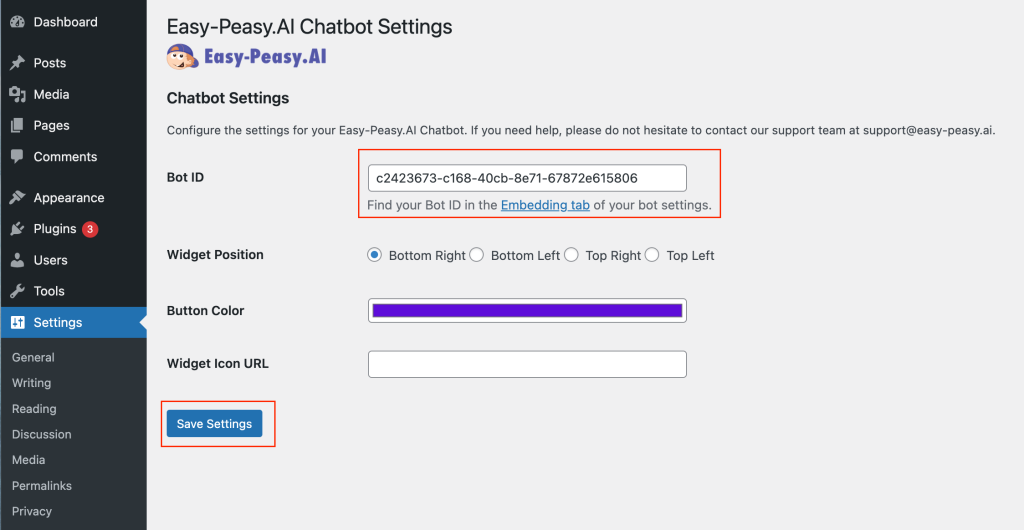
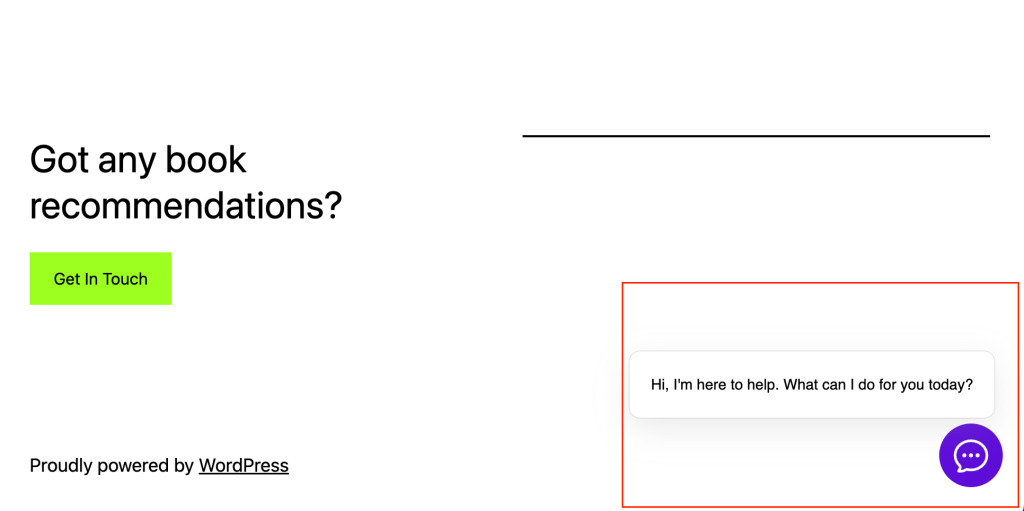
- Your Easy-Peasy.AI chatbot should now be live on your WordPress website!