
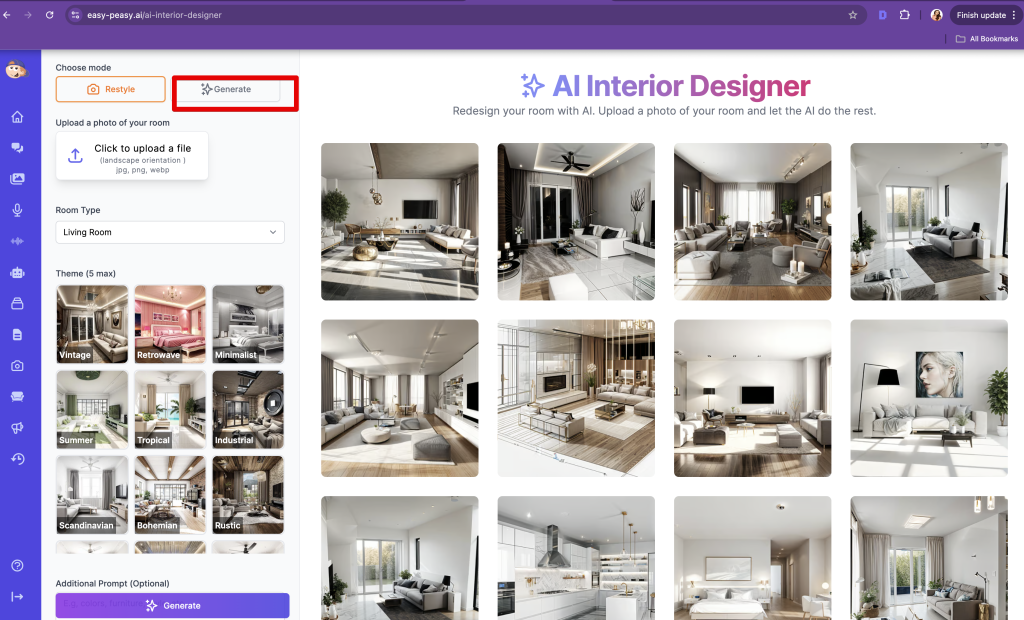
Step 1: Sign Into Easy-Peasy.AI and Access the AI Interior Designer
To Access the AI Interior Designer you first need to sign into your Easy-Peasy.AI account. If you don’t have an account, you can create one for free.
Locate the “AI Interior Designer” section.
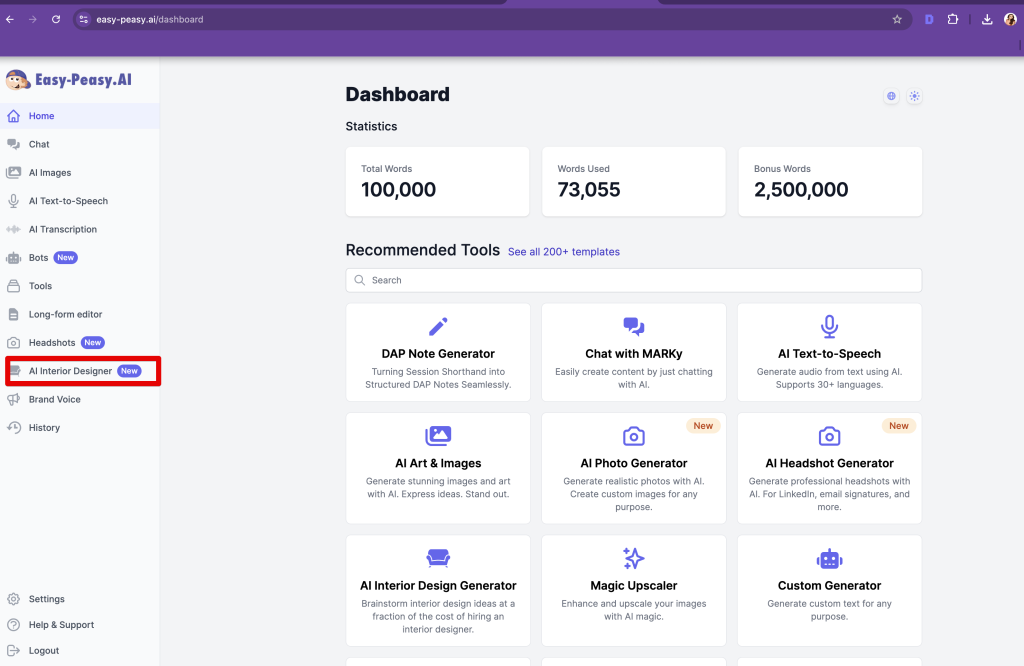
The AI Interior Designer offers three powerful modes to transform your spaces:
- Edit: Modify specific elements like colors, furniture, or decor while keeping the room layout intact. Perfect for changing colors, materials, or adding/removing specific items.
- Restyle: Apply different interior design styles (Modern, Traditional, etc.) to your existing room.
- Generate: Create entirely new room designs from scratch based on room type and style preferences.
Step 2: Edit an Existing Photo (NEW)
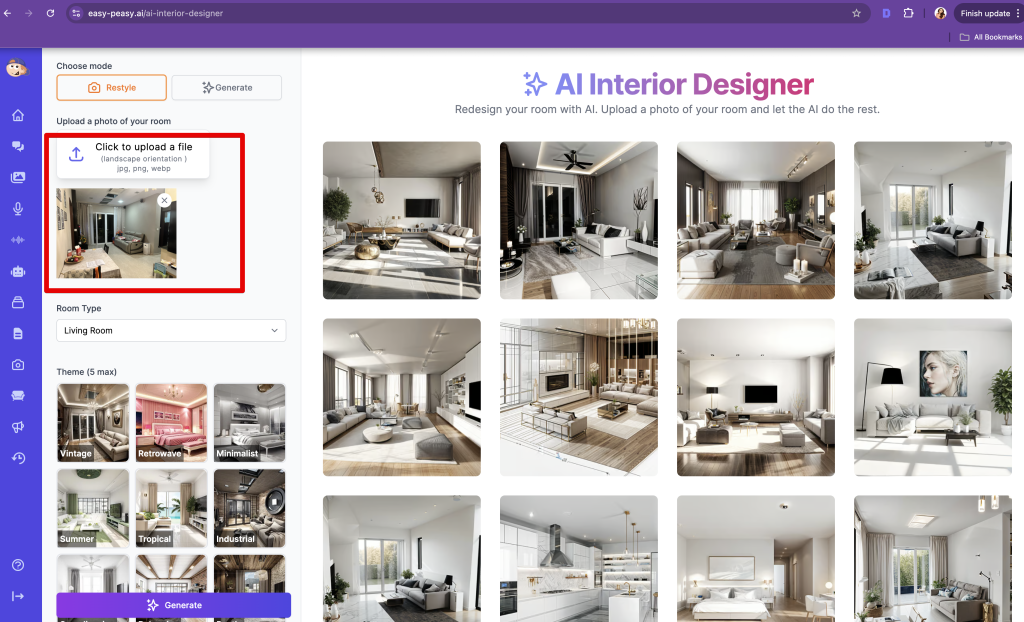
1. Upload a photo of your room, patio, restaurant, garden, office, or any space.
- Click to upload or drag and drop.
- Supported formats: JPG, PNG or WebP • Max 10MB.
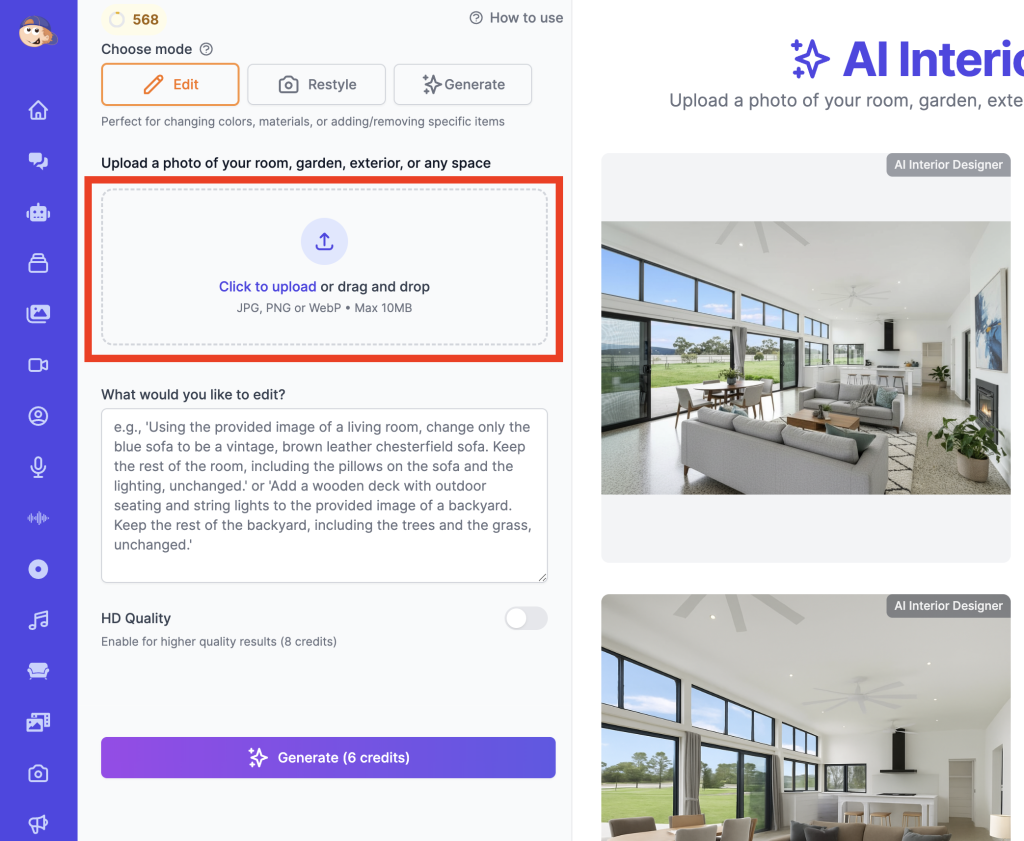
2. Provide a detailed edit prompt.
What would you like to edit? For example:
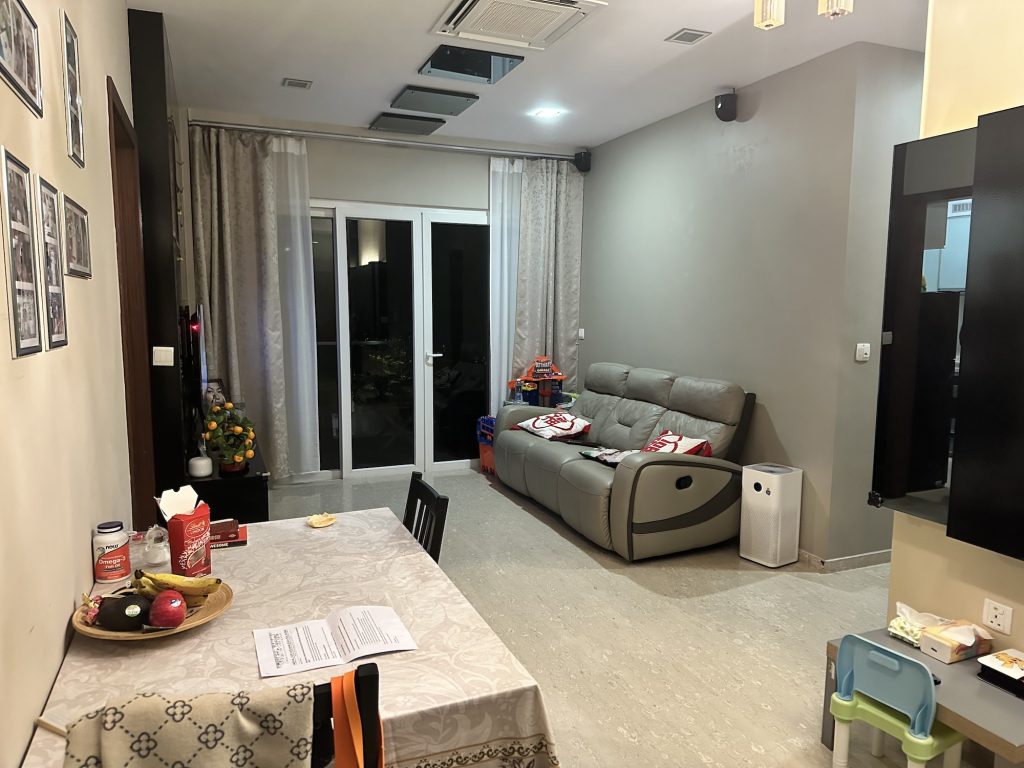
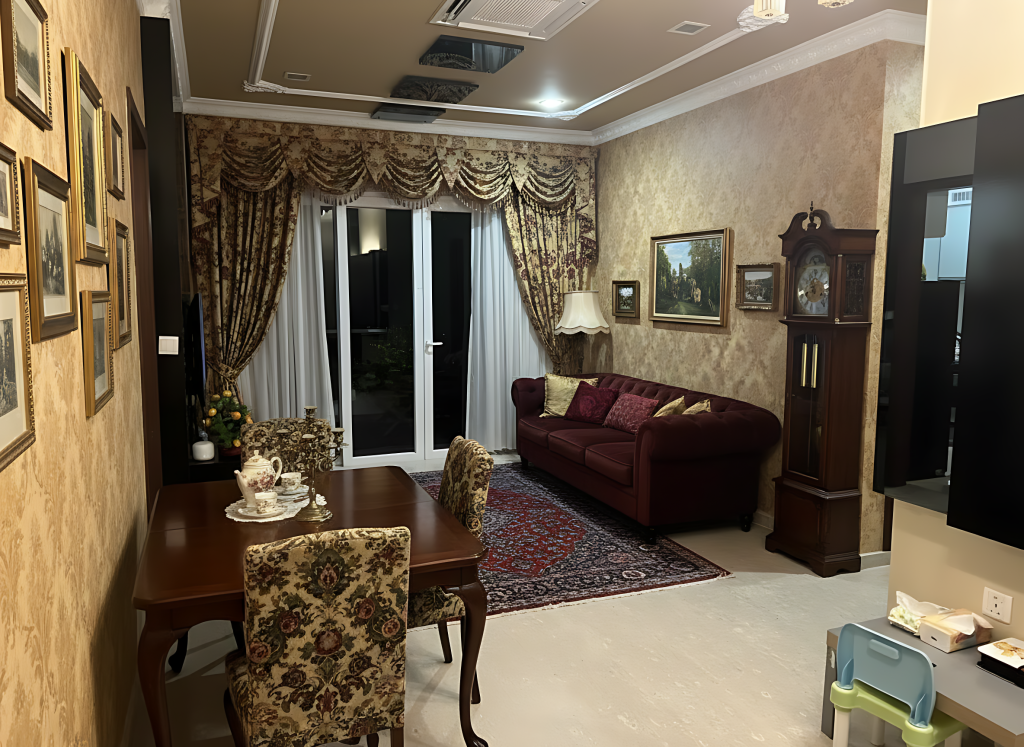
- ‘Using the provided image of a living room, change only the blue sofa to be a vintage, brown leather chesterfield sofa. Keep the rest of the room, including the pillows on the sofa and the lighting, unchanged.‘
- ‘Add a wooden deck with outdoor seating and string lights to the provided image of a backyard. Keep the rest of the backyard, including the trees and the grass, unchanged.‘
3. Generate the Edit.
- Click the “Generate” button to apply your specific changes.
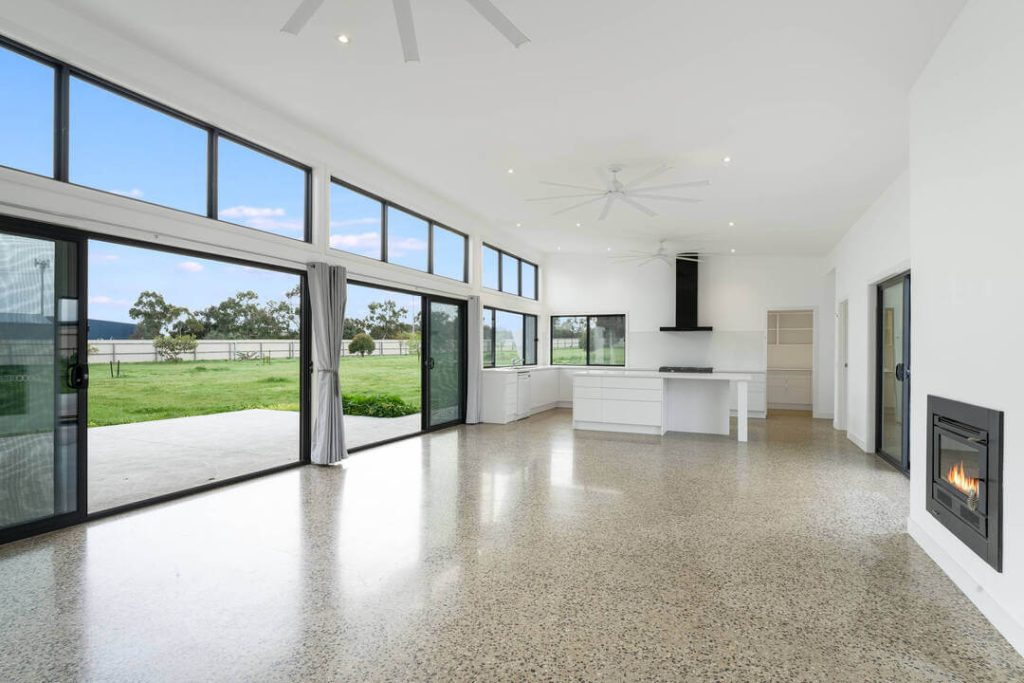
Before:
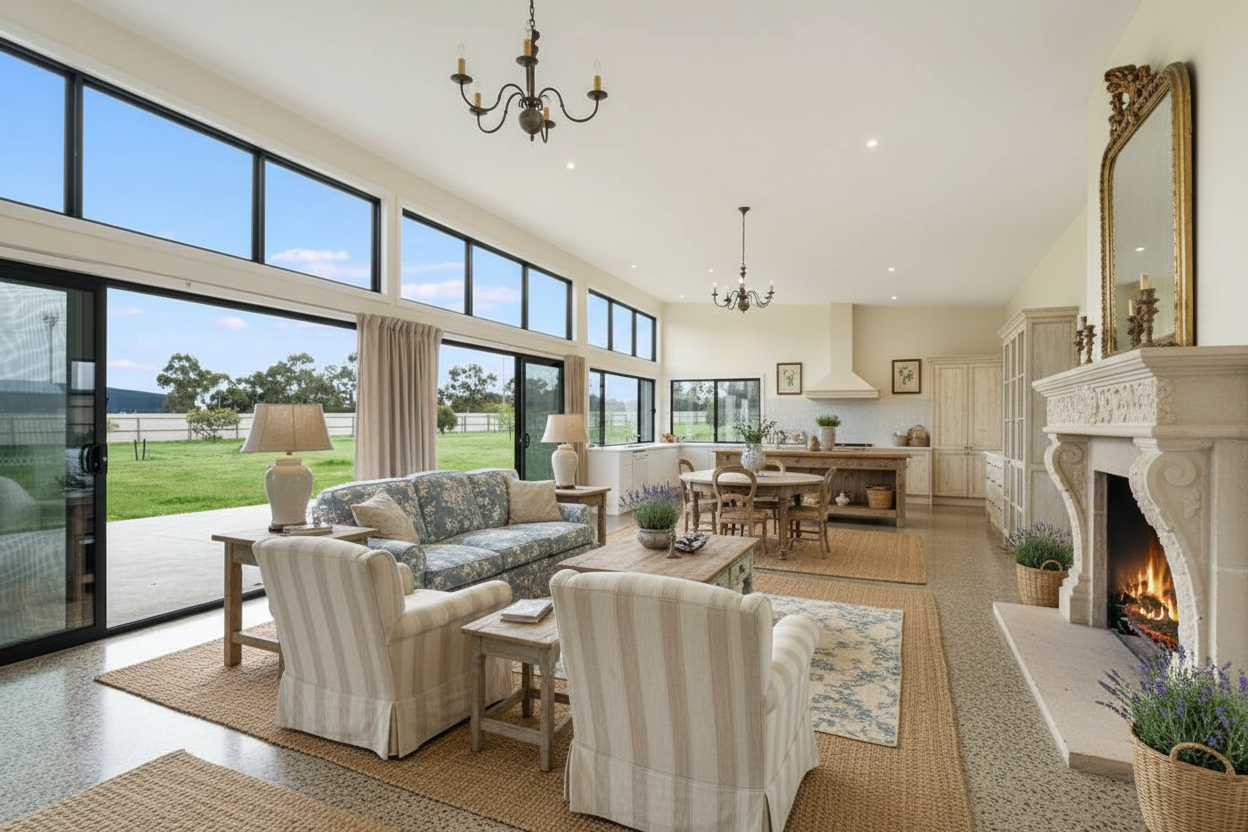
After:
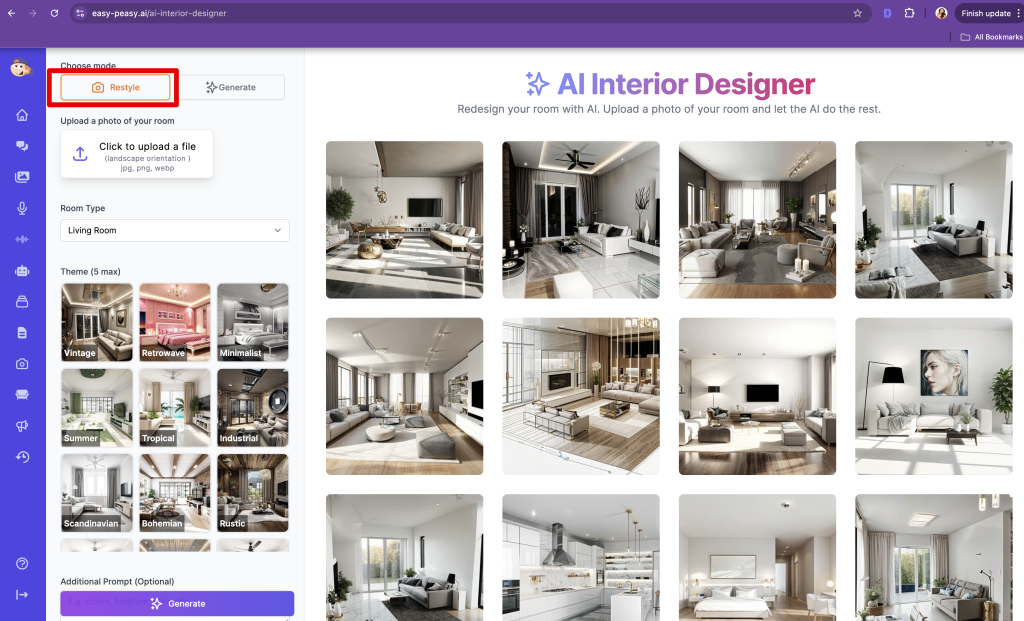
Step 3: Restyle an Existing Photo
1. Click on the “Restyle” button.
2. Upload a photo of the room you want to restyle.
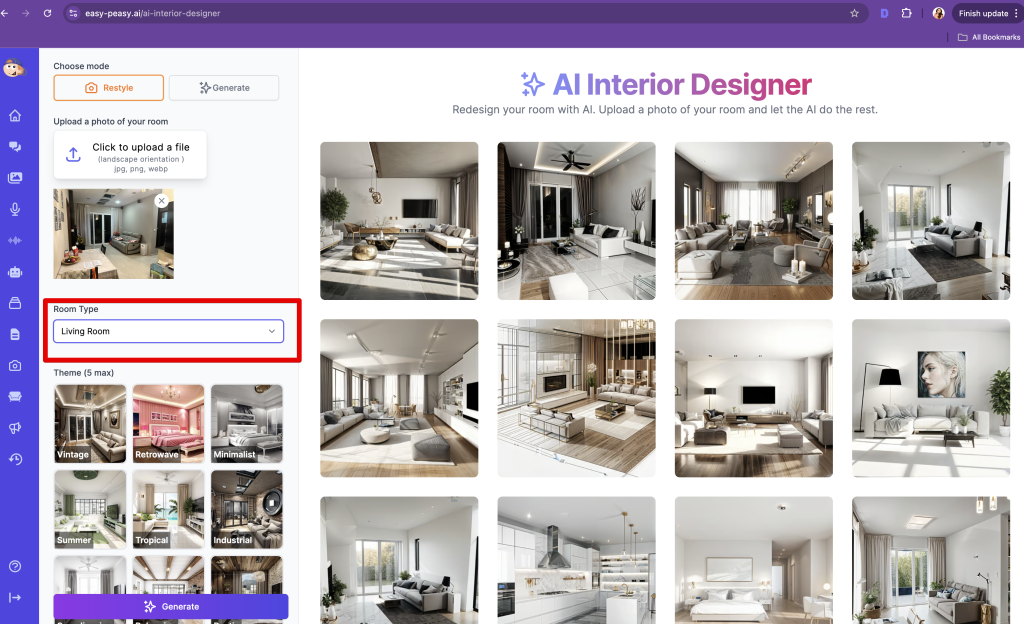
3. Choose Room Type.
- Select the type of room from the options provided (e.g., Living Room, Bedroom, Kitchen, Bathroom, etc).
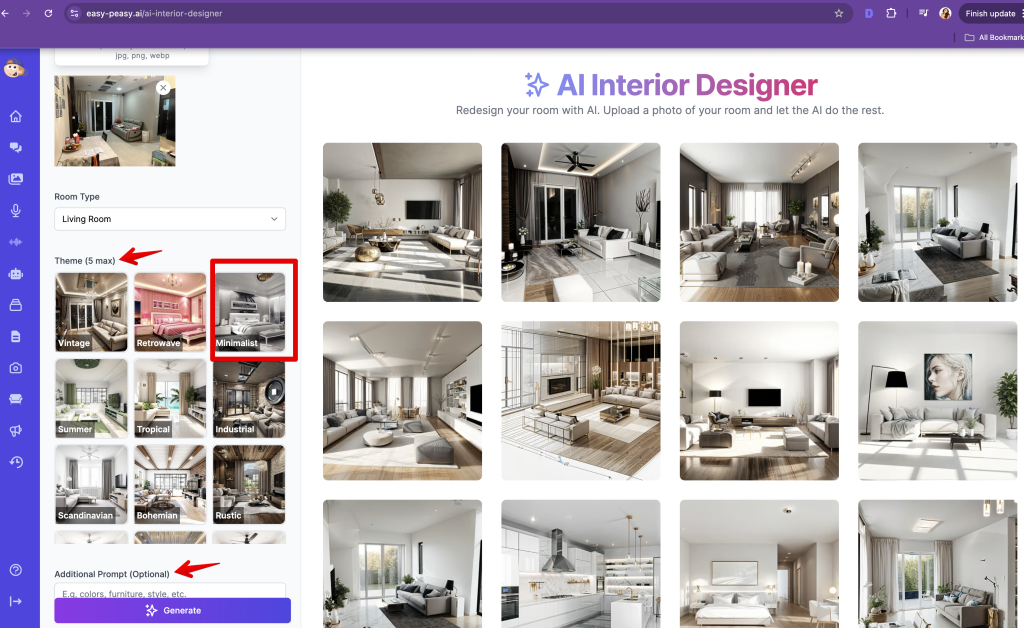
4. Select a Style Theme.
- Browse through available themes and select one. For example, choose “Minimalist Style.”
- Optionally, add prompts for colors or decor elements.
5. Generate Restyle.
- Click the “Generate” button to see the transformation.
Before:
After:

Vintage
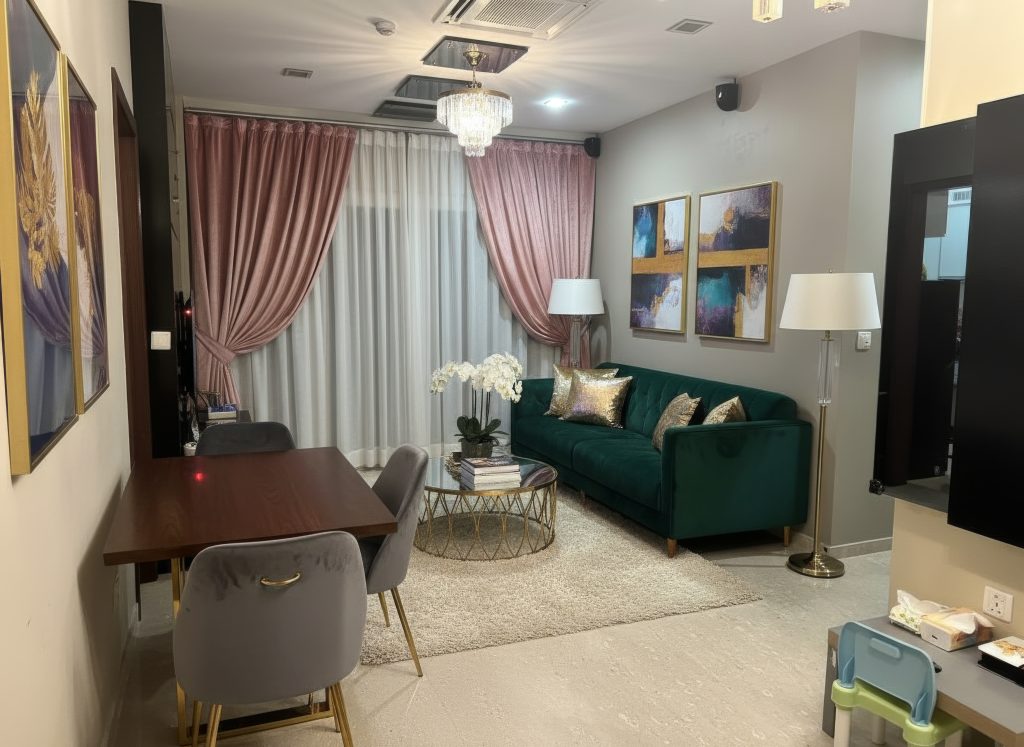
Glamour
Step 4: Generate a New Design
1. Use the Generate Feature
- Click on the “Generate” button to create a design from scratch.
2. Find Inspiration
- Go to “AI Images” and click “See All” to explore the image library.
- These images are under a free license for your use.

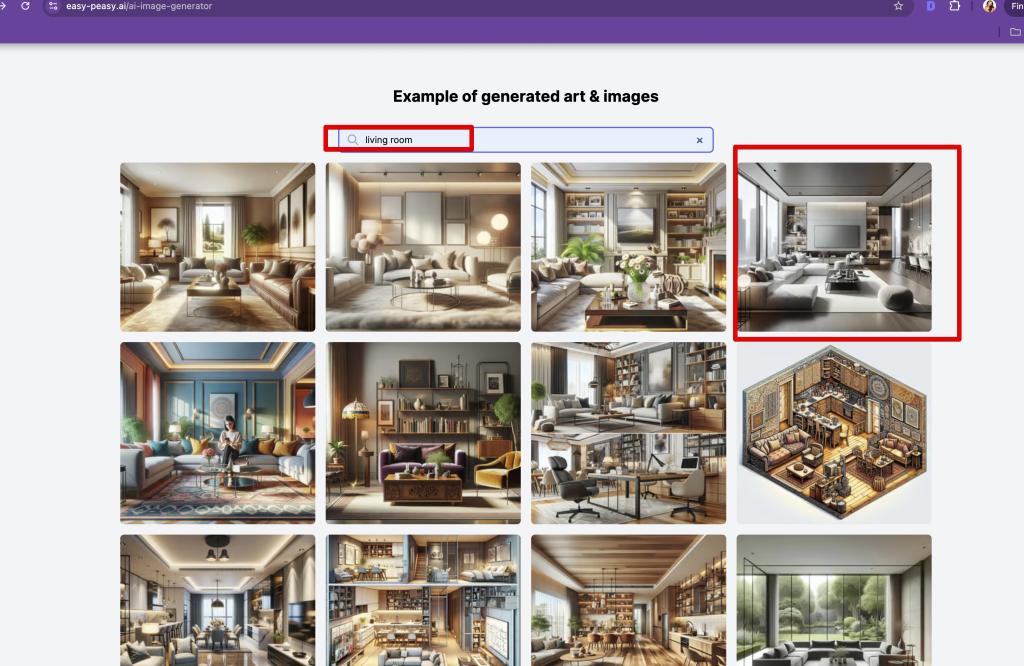
3. Copy a Prompt
- Search for a design you like (for example, Modern Living Room), copy the prompt associated with it.
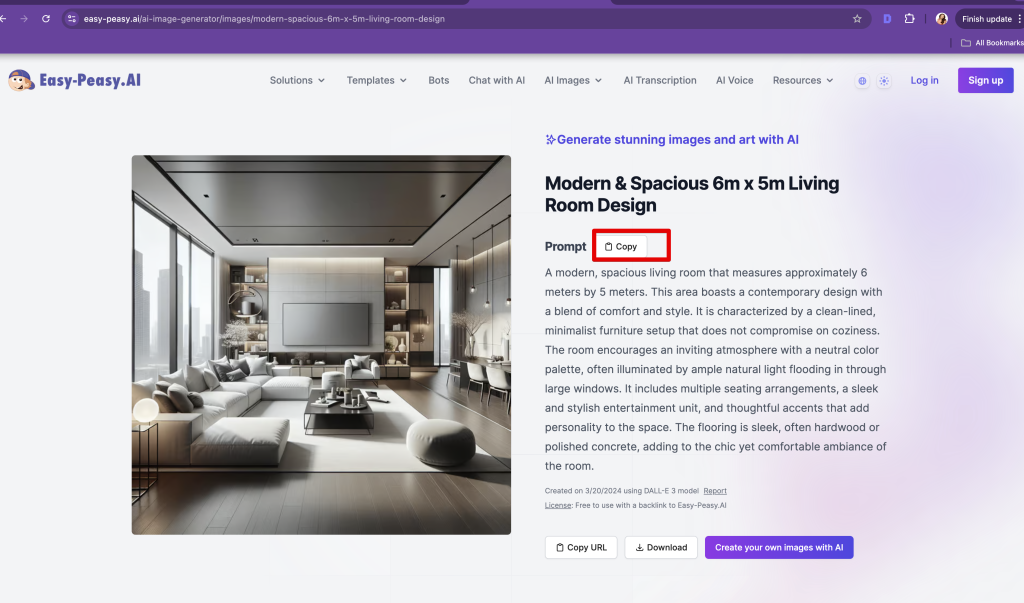
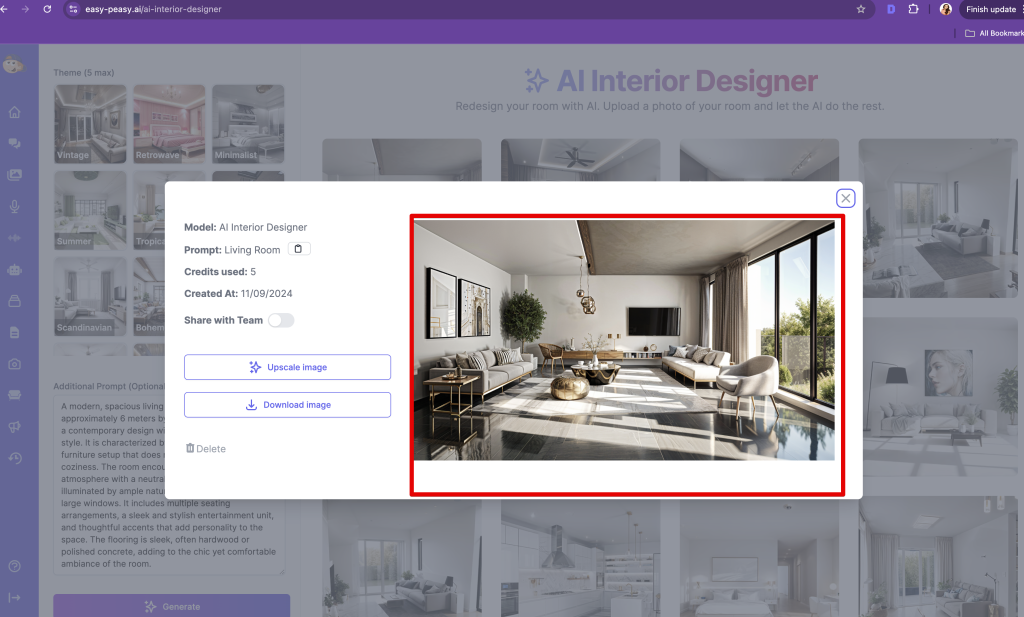
4. Create Your Design
- Paste the copied prompt into the generator.
- Choose a style, such as “Mid Century Modern.”
- Click “Generate” to create your design.

Step 5: Create 3D Flythroughs with AI (Optional)
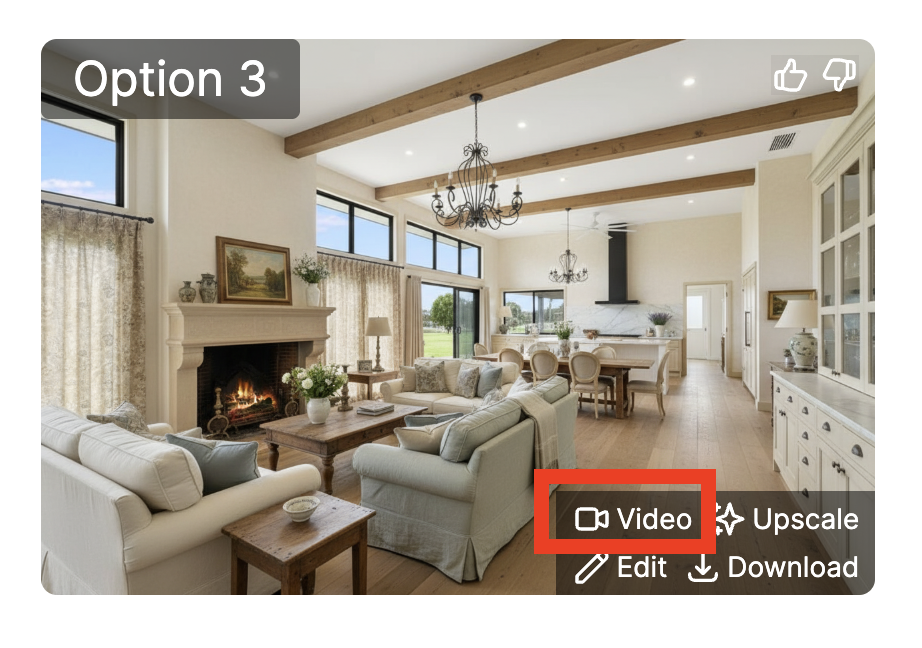
Once you’ve generated an image in any mode (Edit, Restyle, or Generate), you can bring your design to life with a dynamic 3D flythrough video.
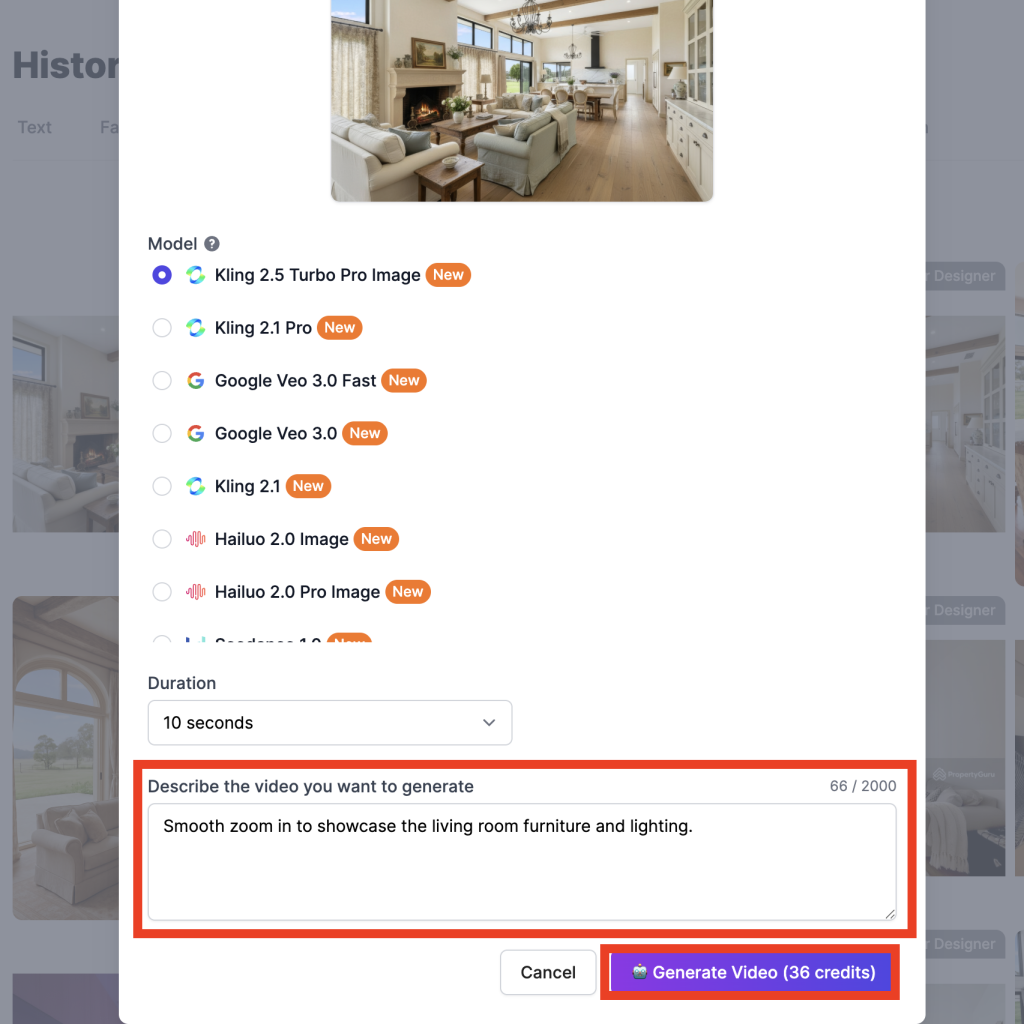
1. Click the Video Icon on the Generated Output.
- On the generated image, locate and click the Video icon (typically a play button or camera icon) to open the video generation modal.
2. Provide a Video Prompt.
- In the modal, describe the camera movement and style for your flythrough. Keep it concise to focus on motion.
Prompt examples:
- ‘Smooth zoom in to showcase the living room furniture and lighting.’
- ‘Pan across the kitchen counters, highlighting the modern appliances and island seating.’
- ‘360-degree rotation around the bedroom’
- ‘Slow flythrough from the garden entrance, circling the outdoor seating area.’
3. Generate the Video.
- Click “Generate” to create the 3D flythrough video based on your prompt and the static image.
- Download or share the resulting video for presentations, social media, or client reviews.
Step 6: Further Edit the Generated Output (Optional)
For additional refinements after initial generation, use the built-in editing tools directly on your output.
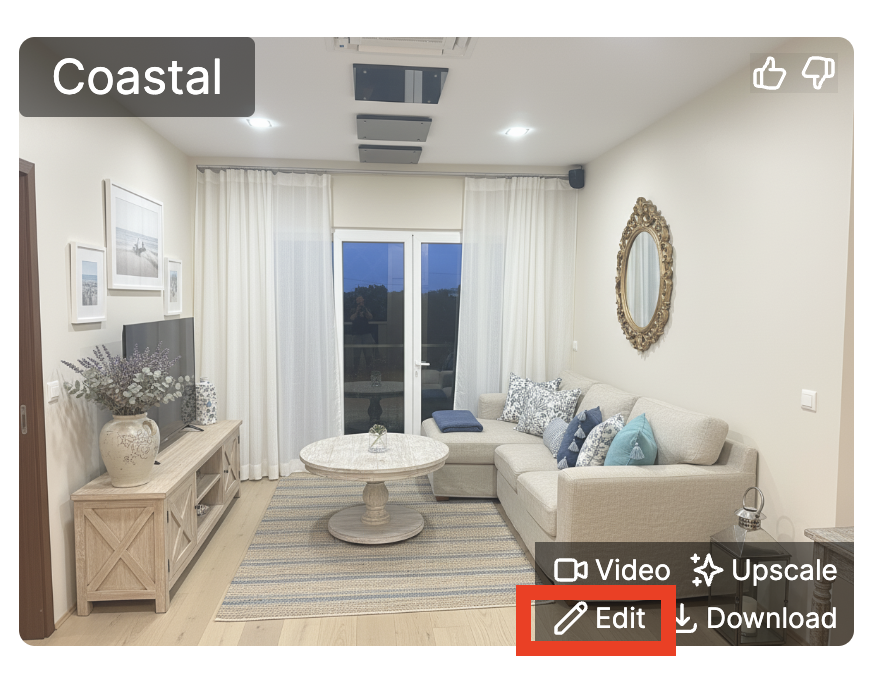
1. Click the Edit Icon on the Generated Output.
- On the generated image (from any mode), click the Edit icon to open the further edit modal.
2. Provide an Edit Prompt.
- Describe specific changes to the existing design. Be precise to maintain consistency.
Prompt examples:
- ‘Change the wall color from blue to warm beige in this living room image, keeping all furniture and layout the same.’
- ‘Replace the coffee table with a glass one and add potted plants on the windowsill.’
- ‘Adjust the lighting to sunset tones for a cozy atmosphere in the bedroom.’
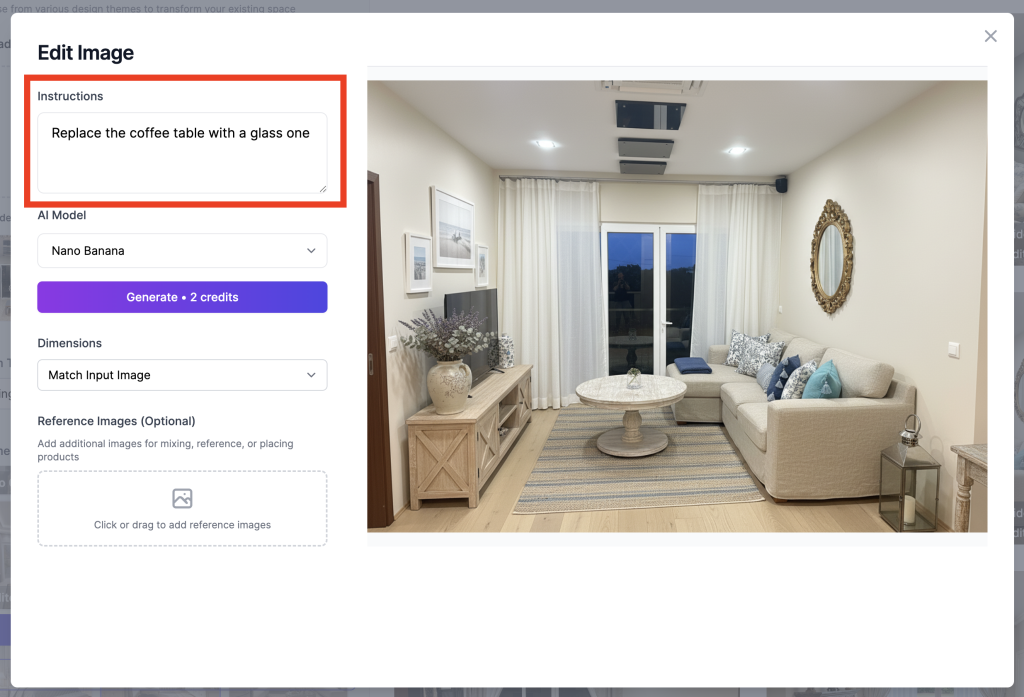
3. Generate the Further Edit.
- Click “Generate” to apply the changes and produce an updated version of your design.
- Iterate as needed to perfect your space.
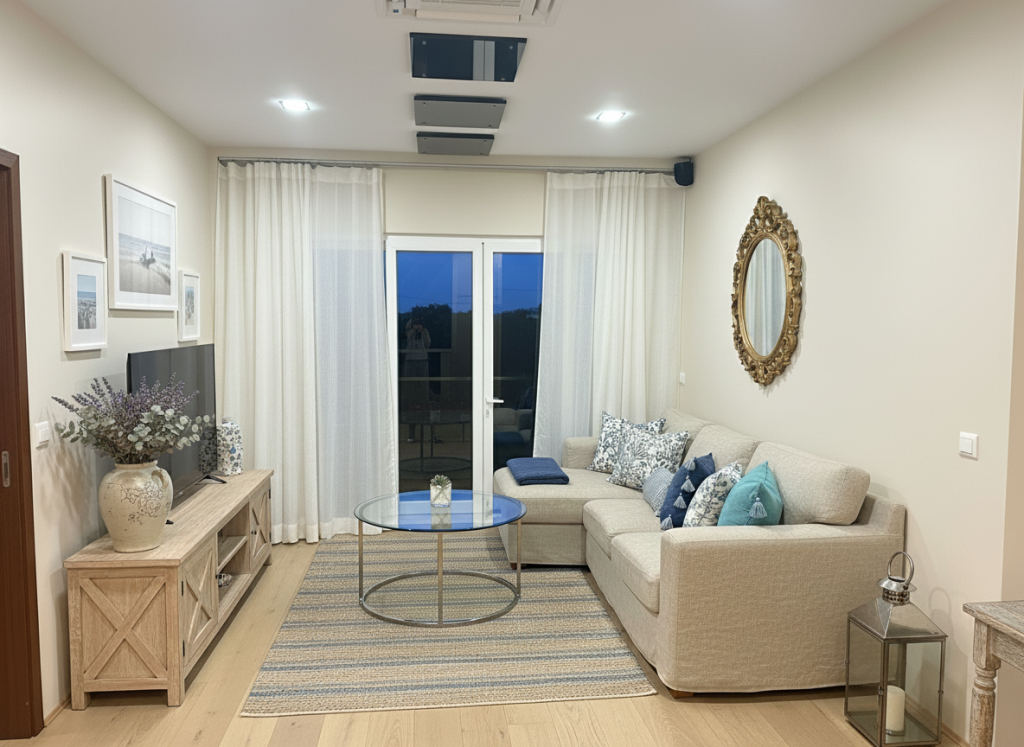
Before

After (Prompt: Replace the coffee table with a glass one)
Whether you’re looking to revamp your living space or find inspiration for a new project, our AI tools are here to assist you.
With Easy-Peasy.AI’s AI Interior Designer, you can transform any space with just a few clicks. Enjoy the creative process and explore endless design possibilities!