
The Headshots Team feature in Easy-Peasy.AI allows teams to create professional AI-generated headshots for multiple members. Follow this step-by-step guide to set up and use the feature effectively.
Step 1: Access the Pricing Page
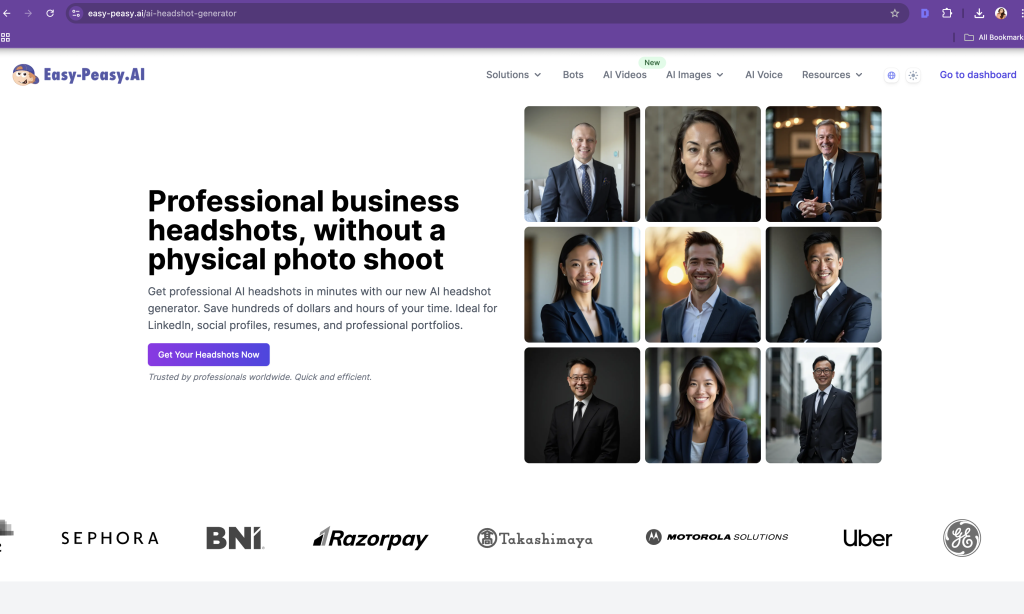
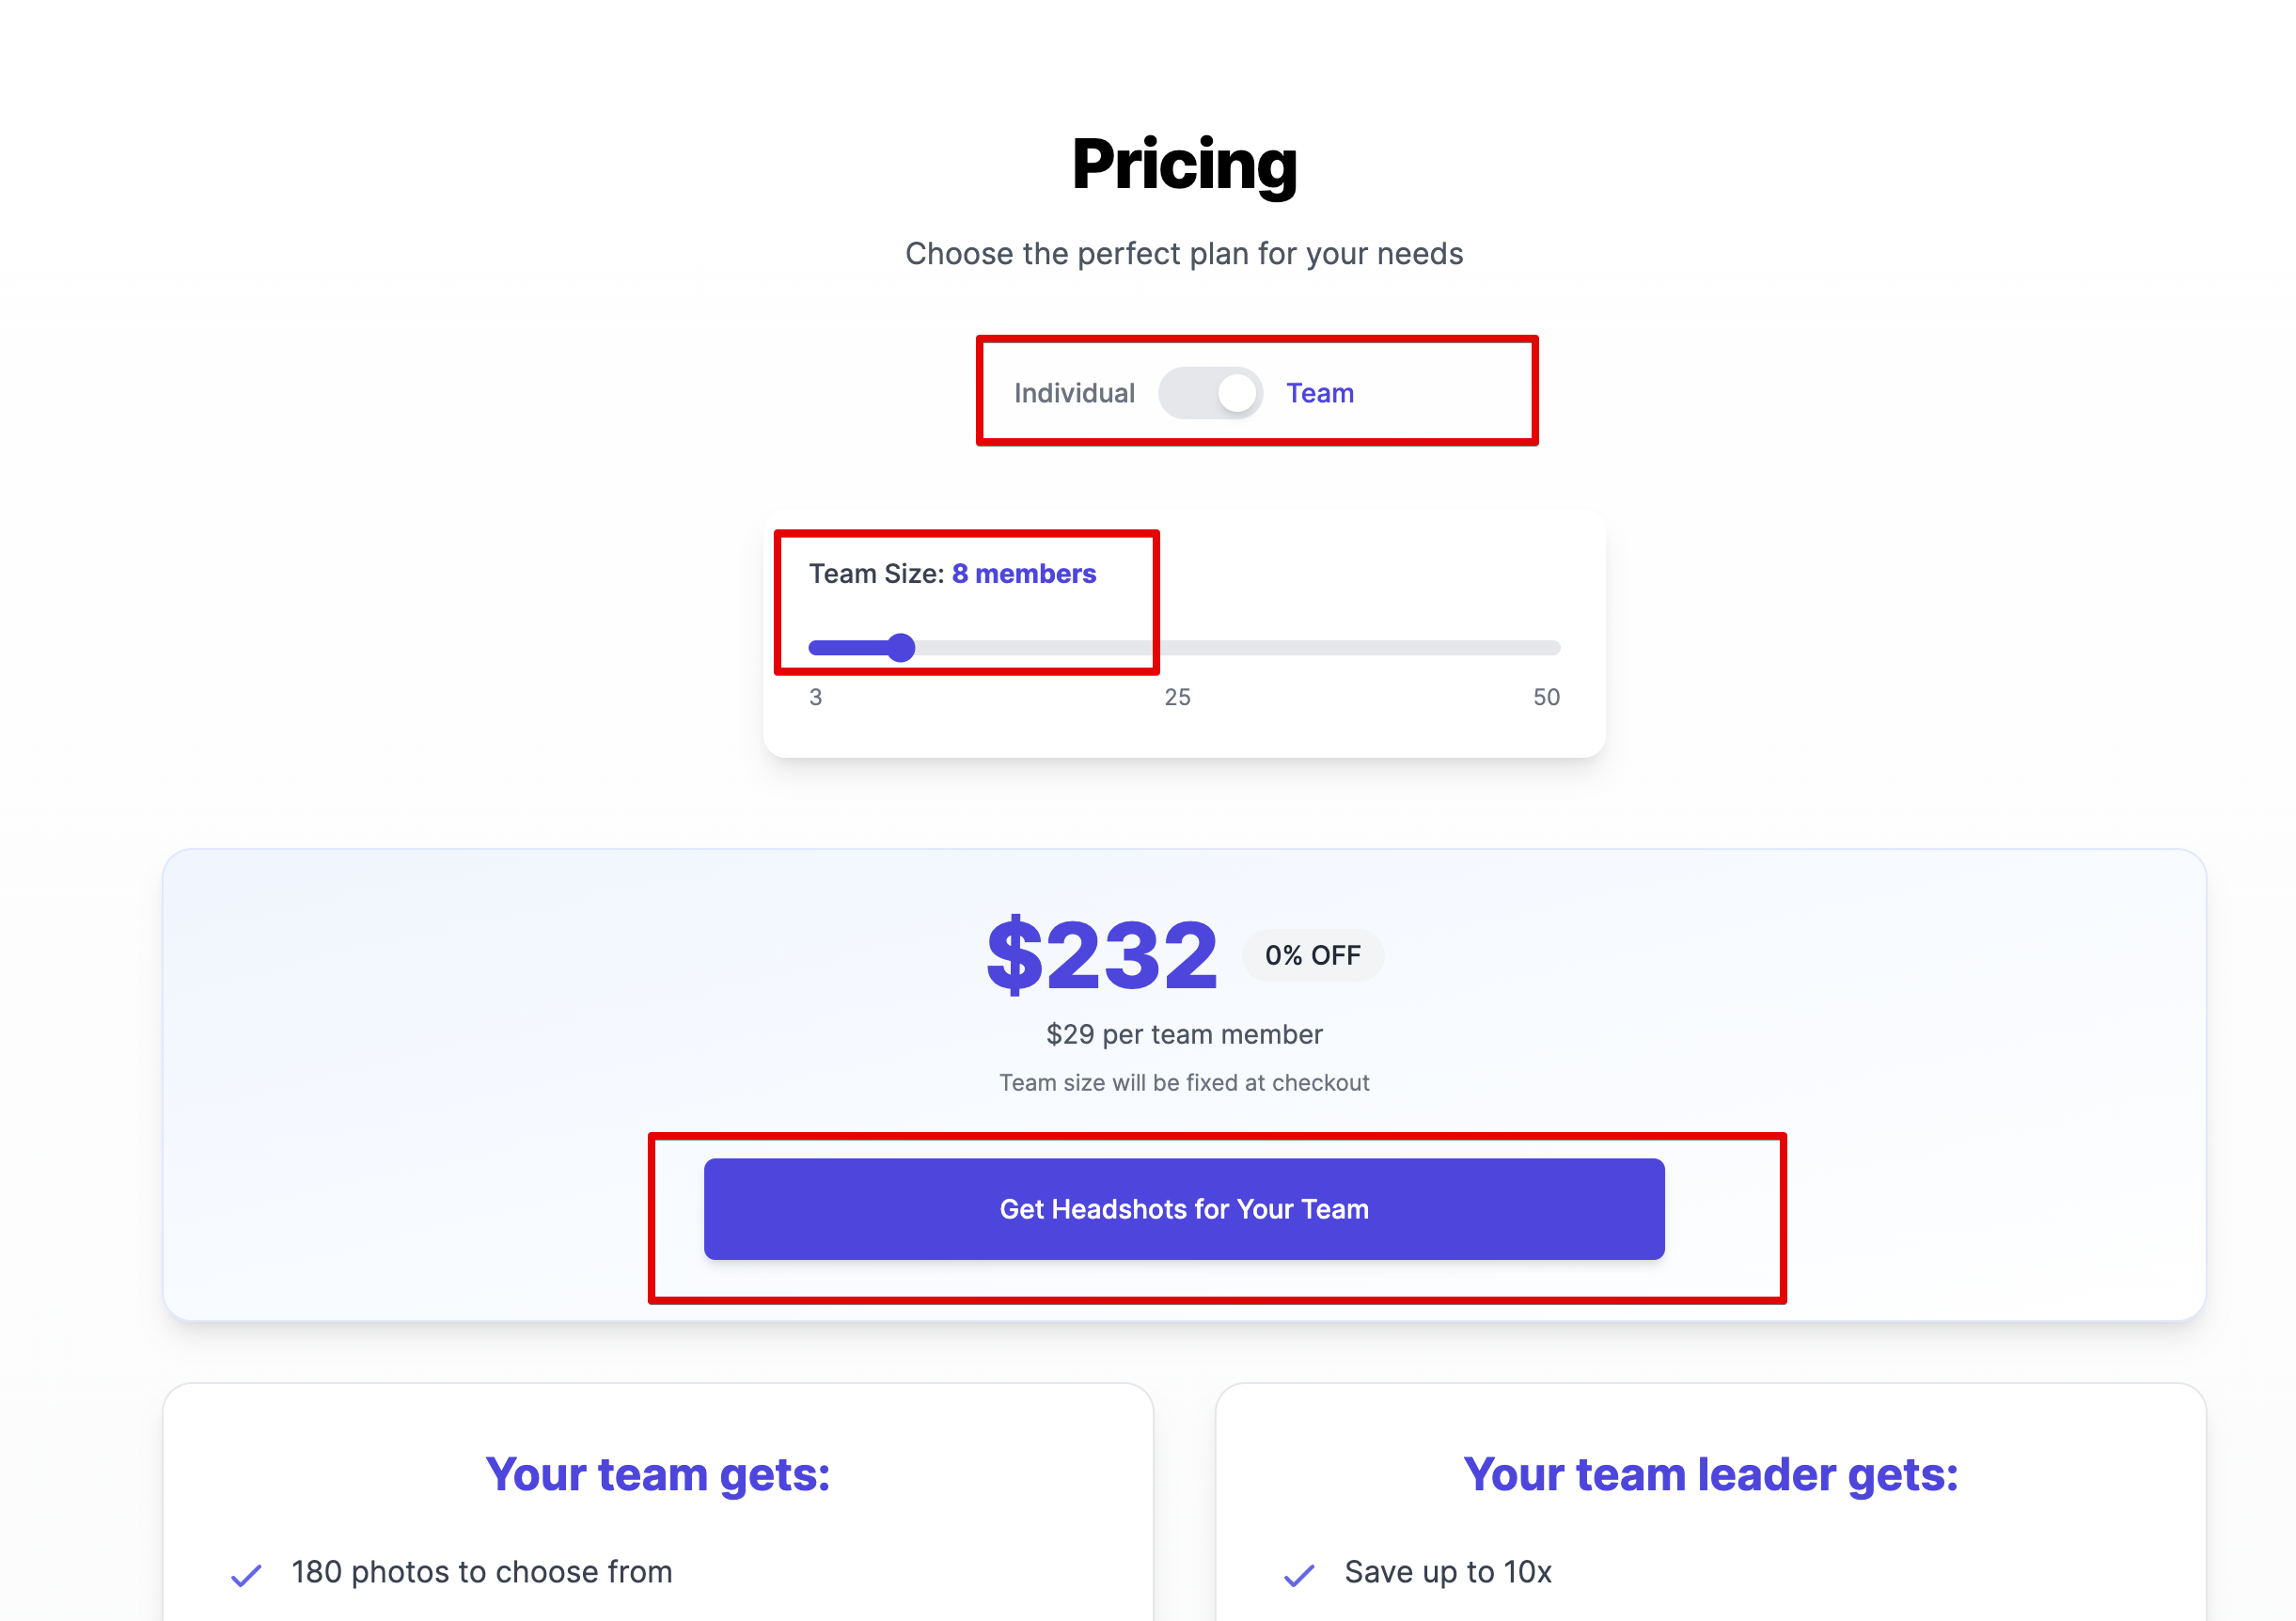
- Navigate to the Pricing page on Easy-Peasy.AI https://easy-peasy.ai/ai-headshot-generator
- Select the Team option (instead of Individual).
- Use the slider to set the desired team size (number of members).
- Click on Get Headshots for Your Team to proceed.
Step 2: Complete the Payment
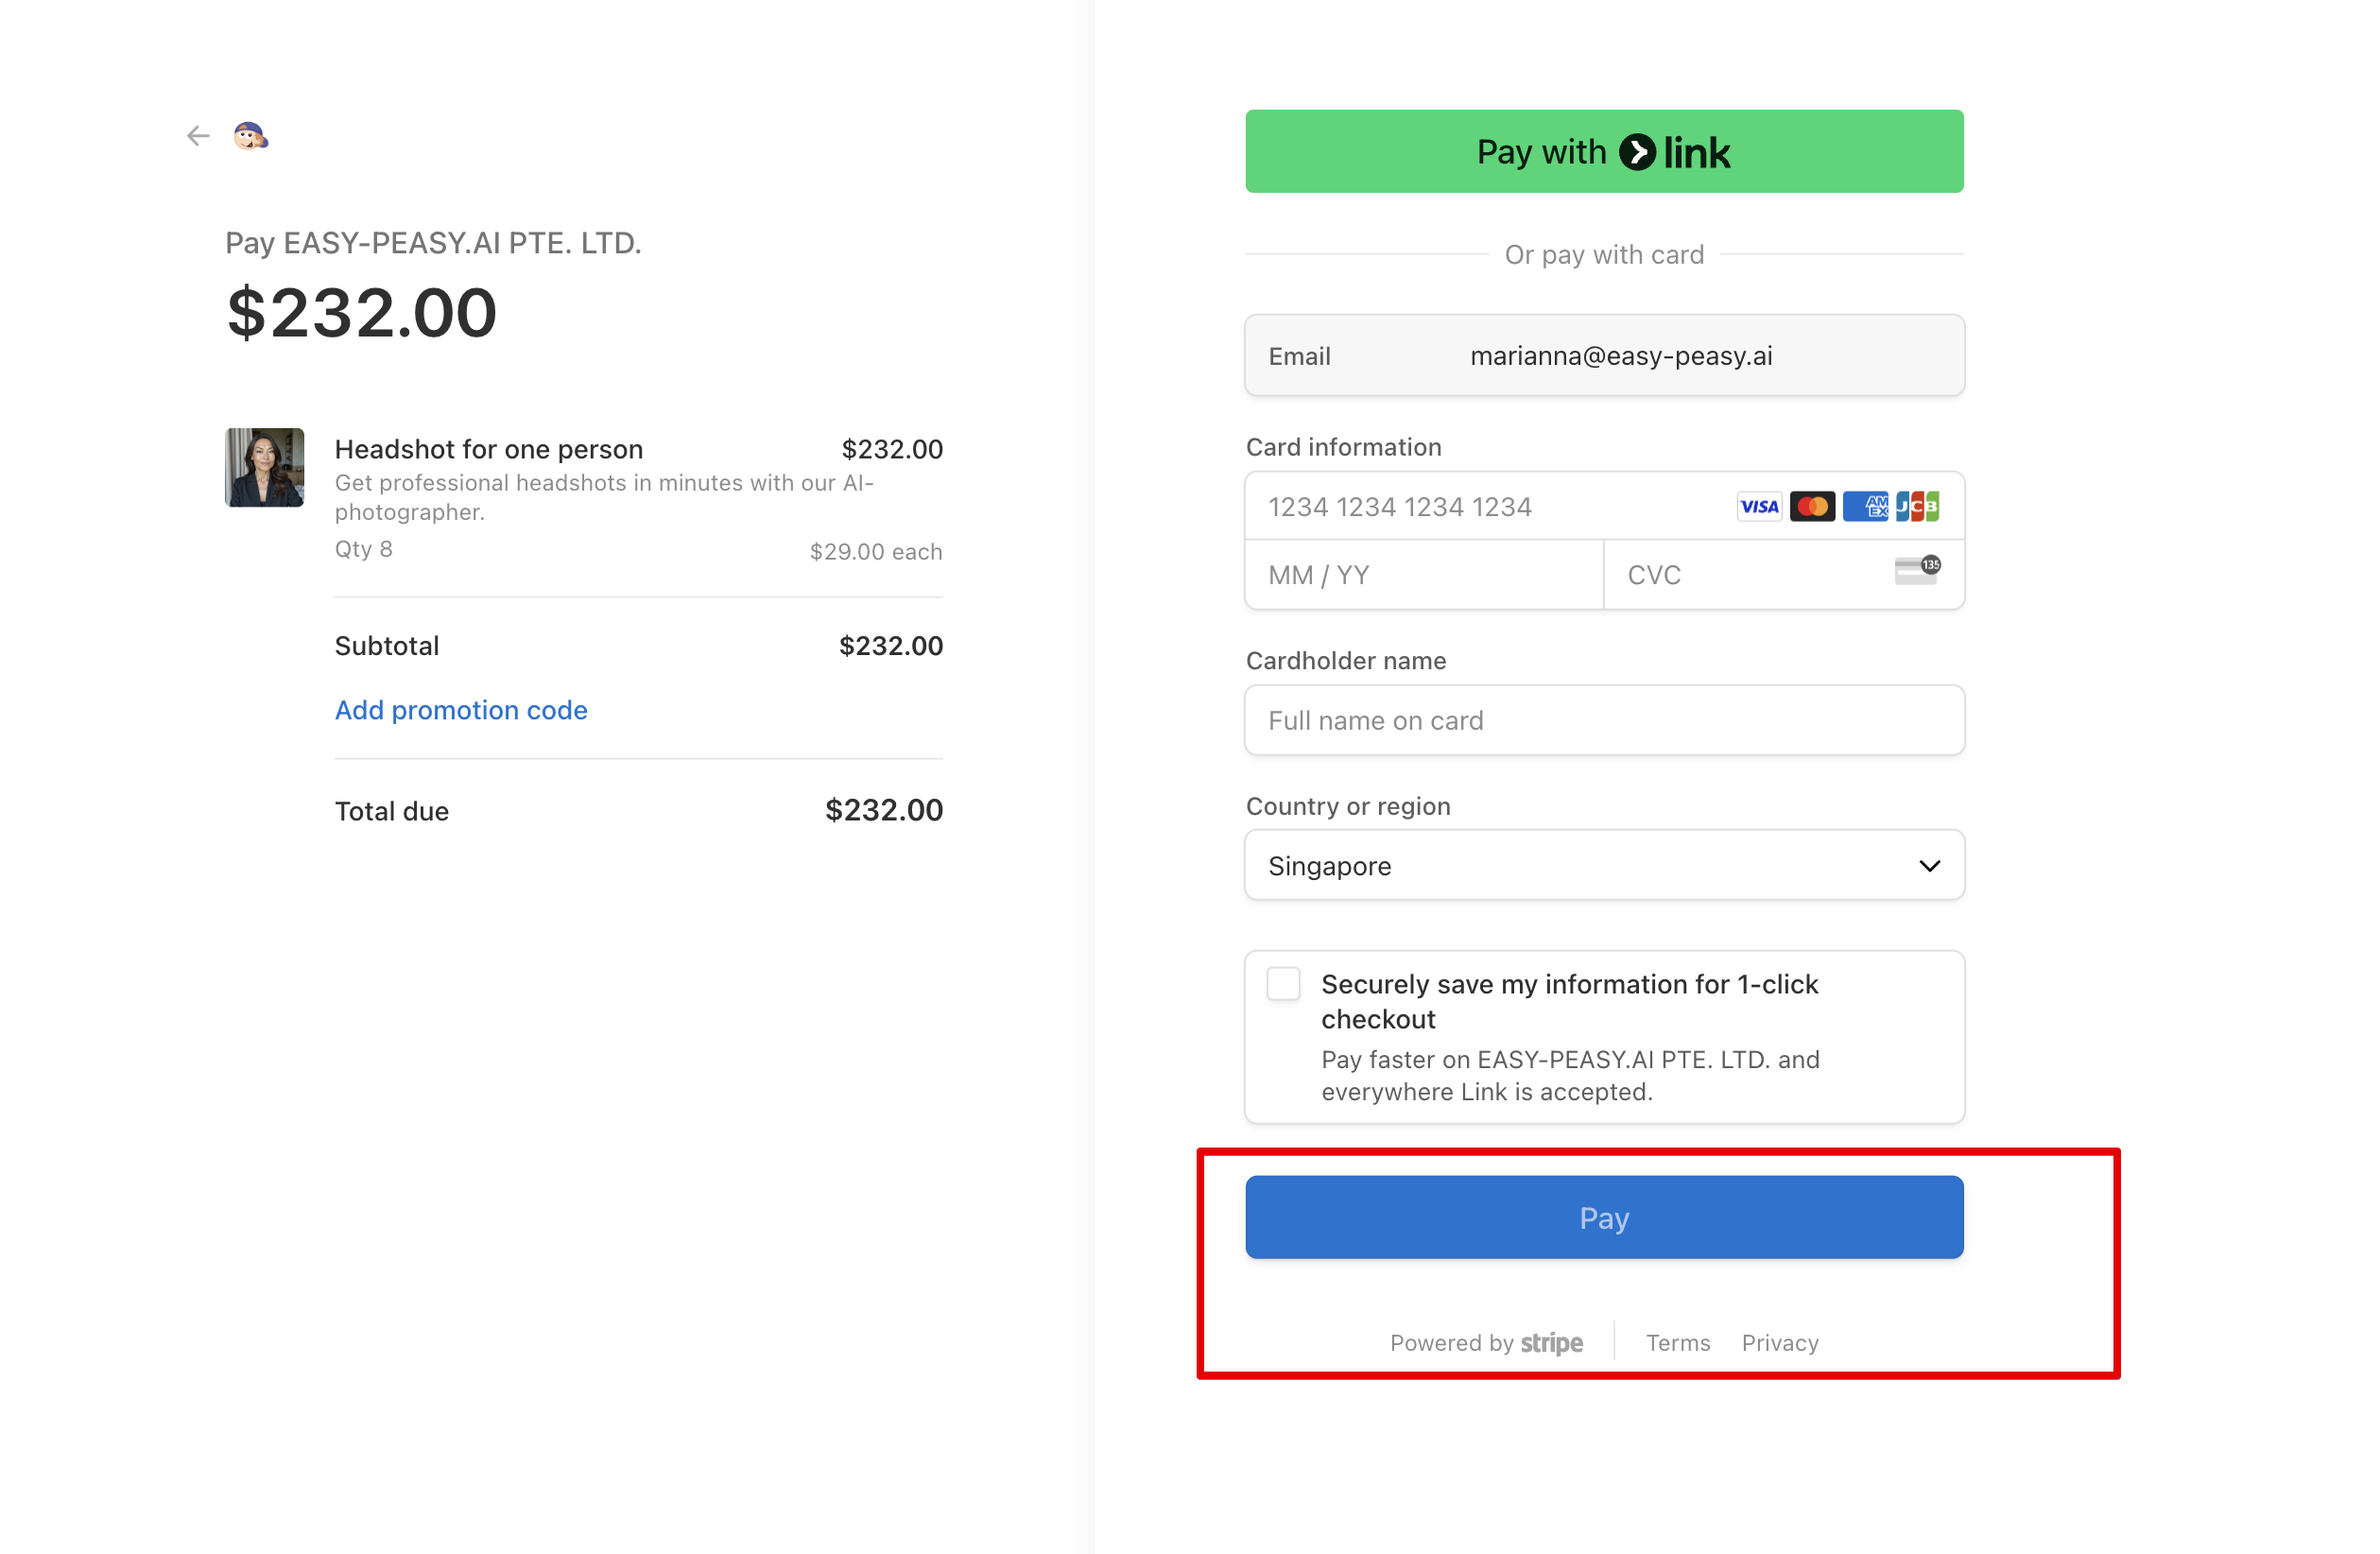
- Review the total cost based on the team size.
- Enter your payment details and click Pay to complete the purchase.
Step 3: Invite Team Members
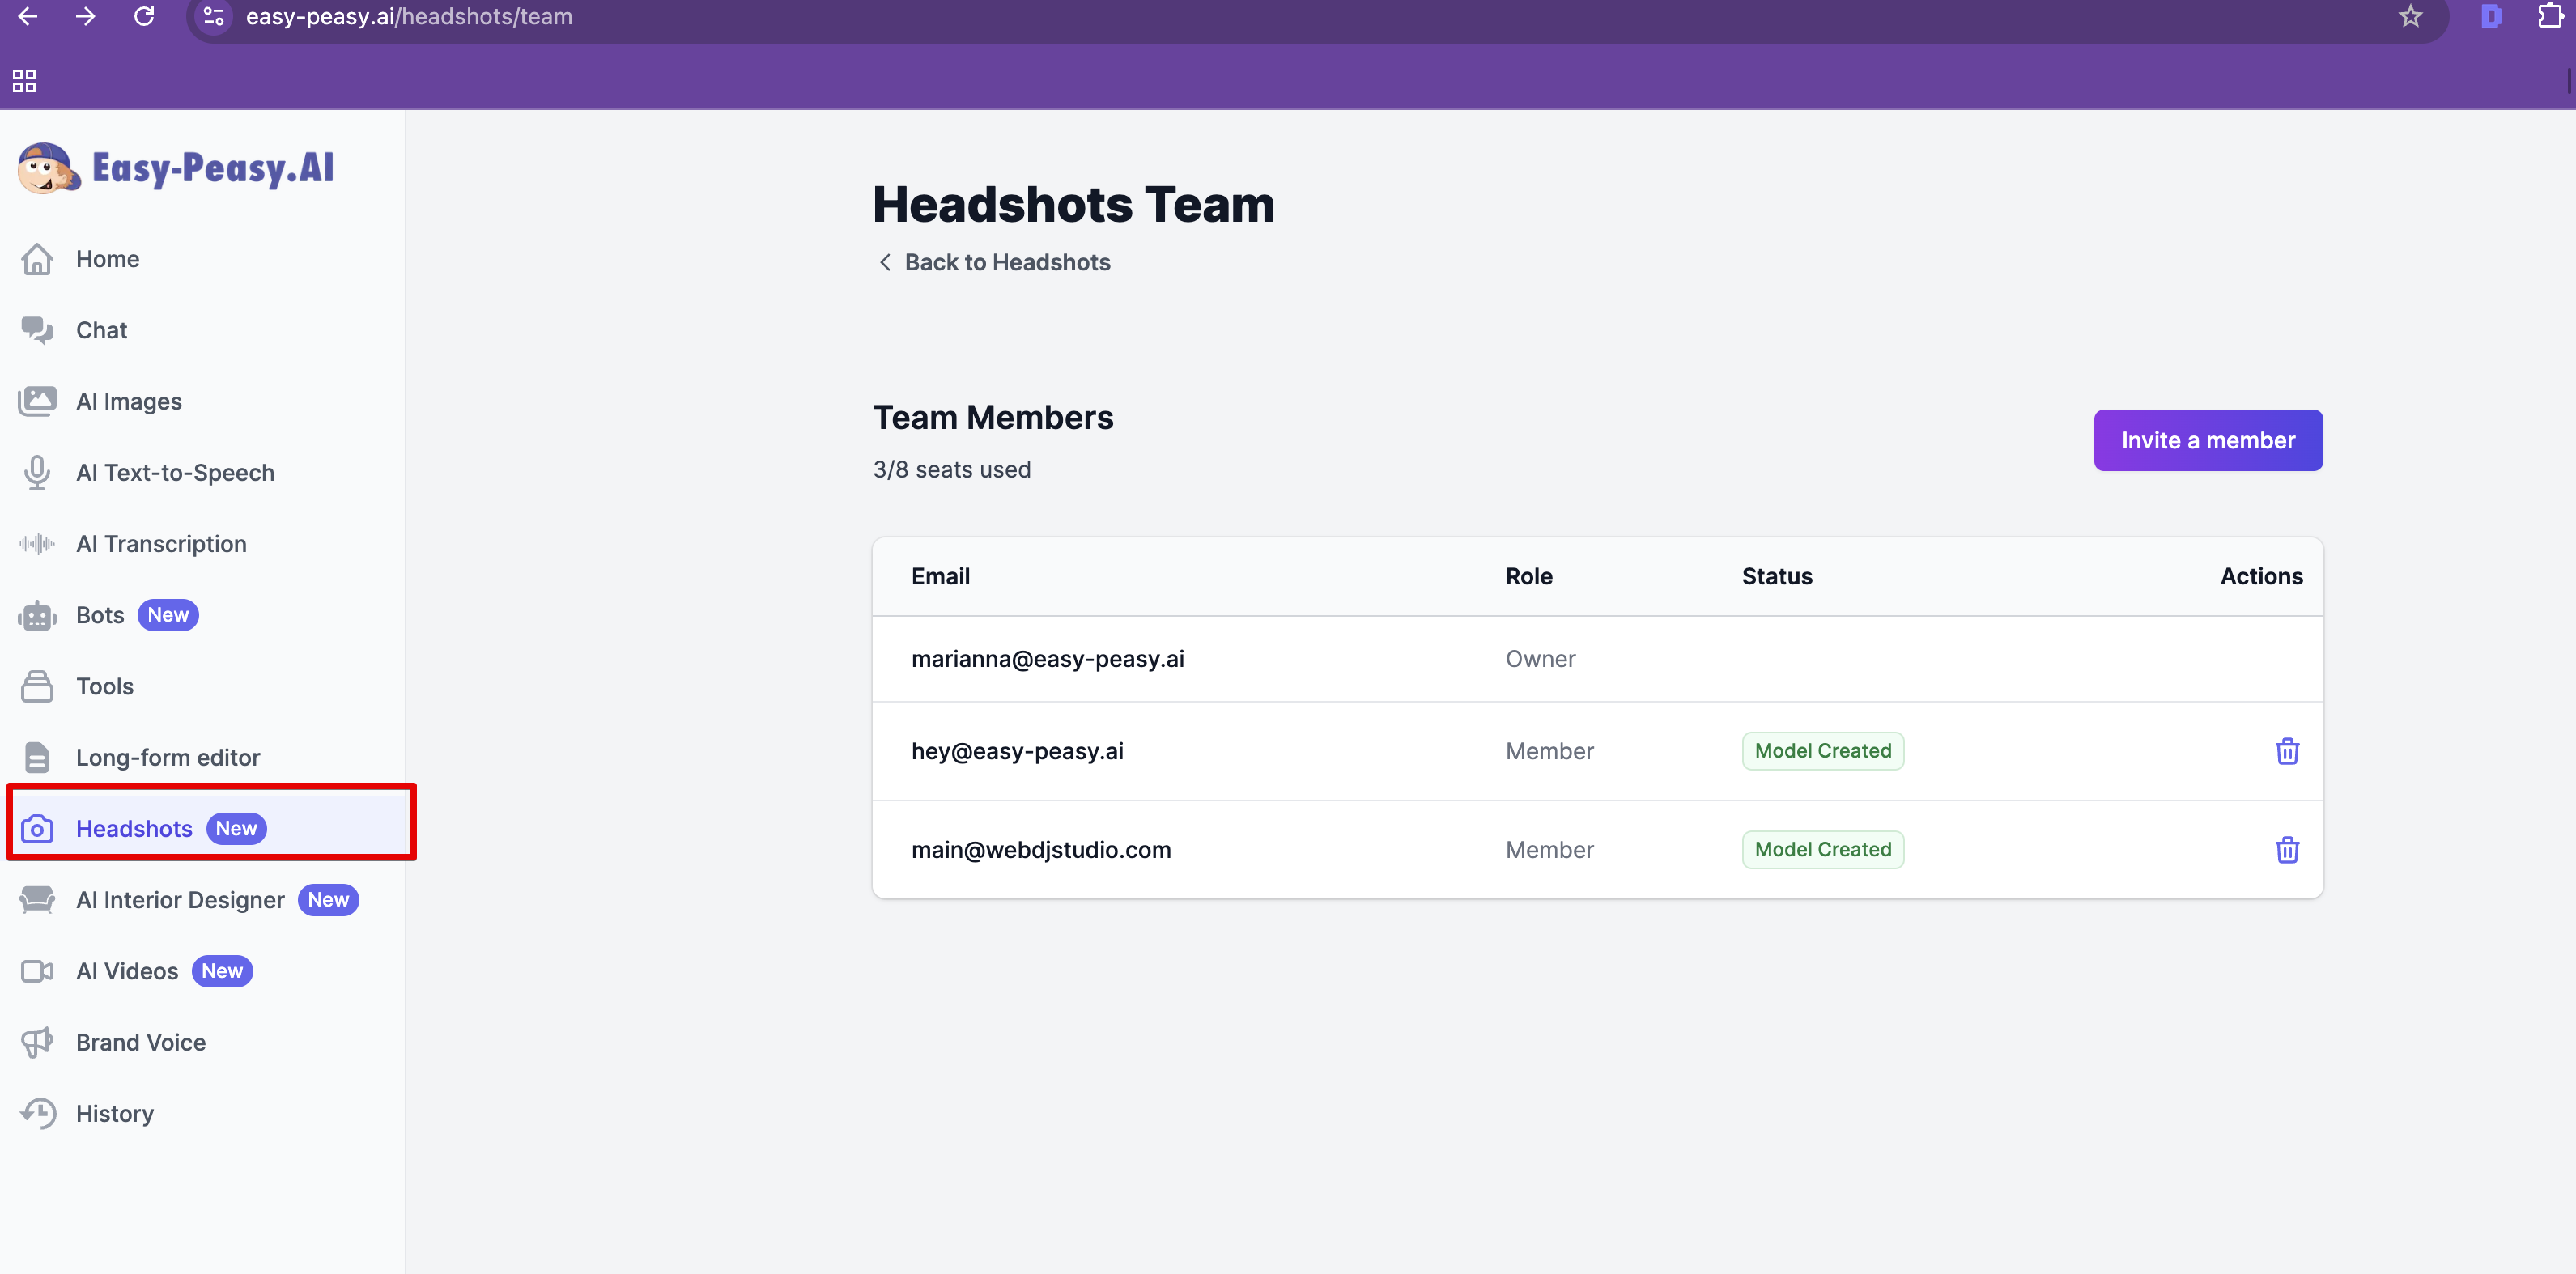
- After payment, go to the Headshots Team section in your dashboard.
- Click Invite a Member to add team members.
- Enter the email addresses of your team members and send invitations.

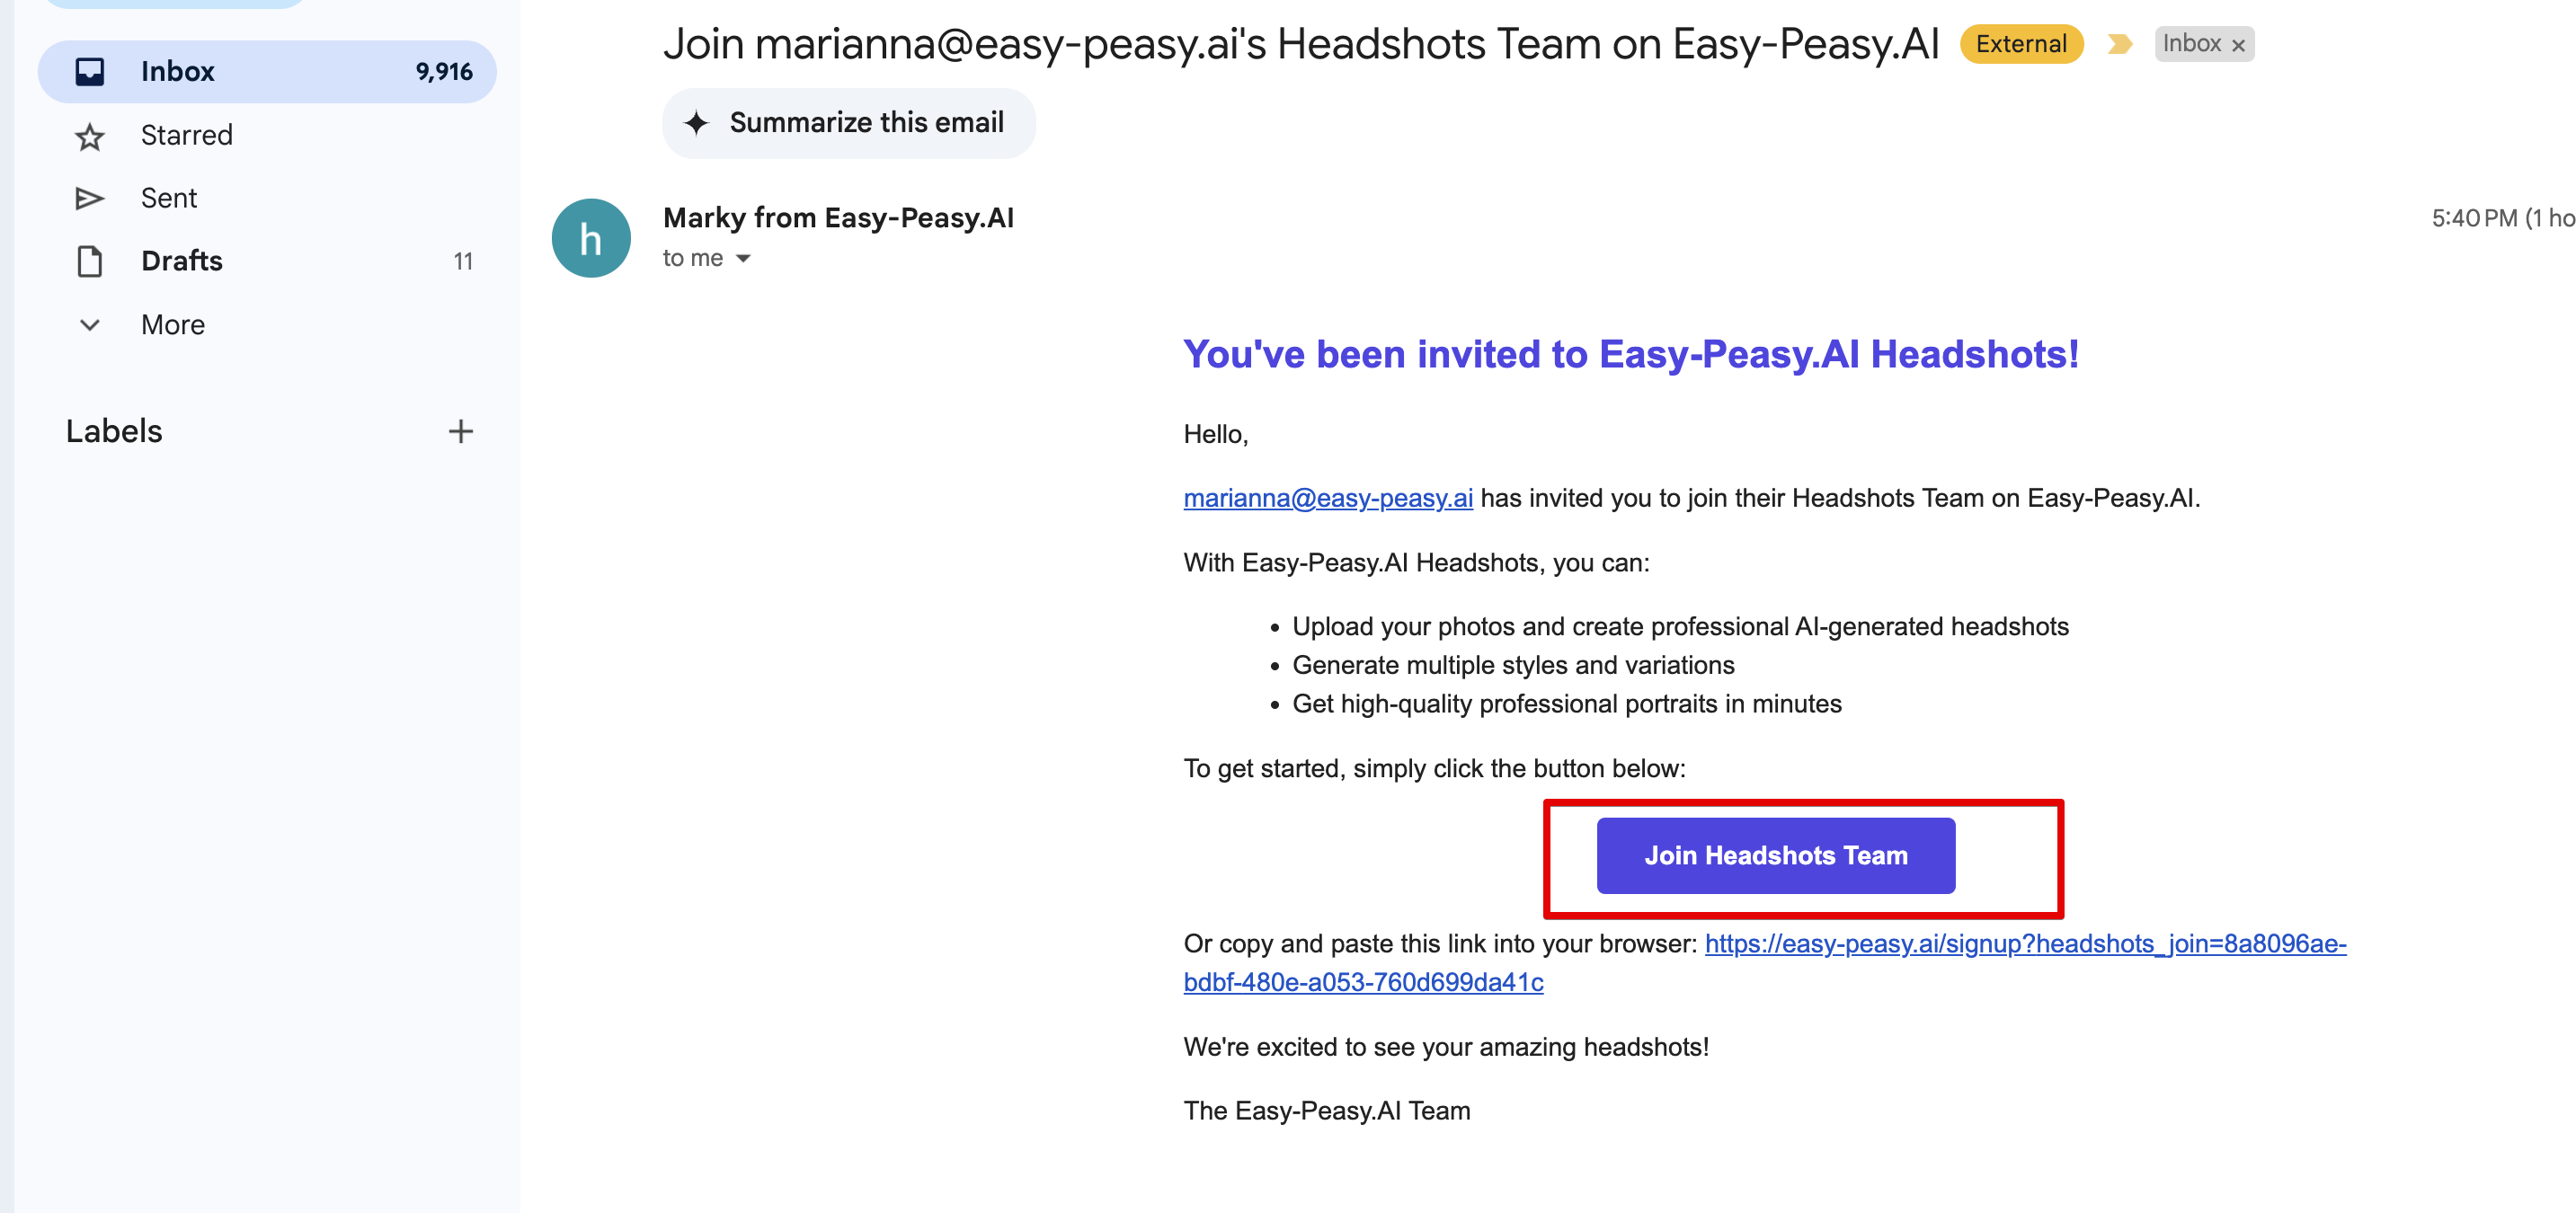
Step 4: Team Members Accept Invitations
- Team members will receive an email invitation to join the Headshots Team.
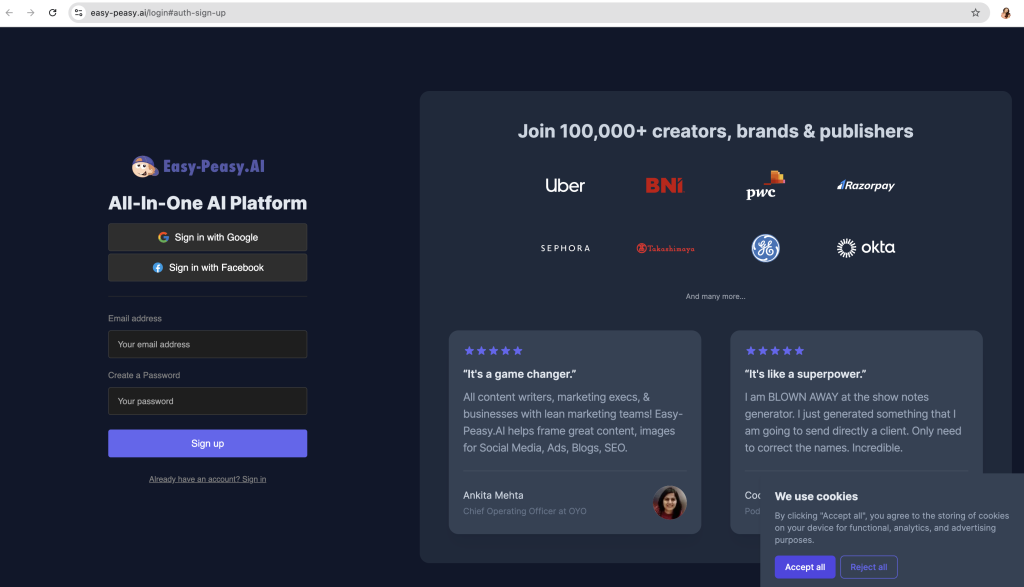
- They need to click the Join Team button in the email and create a free Easy-Peasy.AI account if they don’t already have one.
- After signing in, they will be automatically redirected to the Headshots Dashboard.
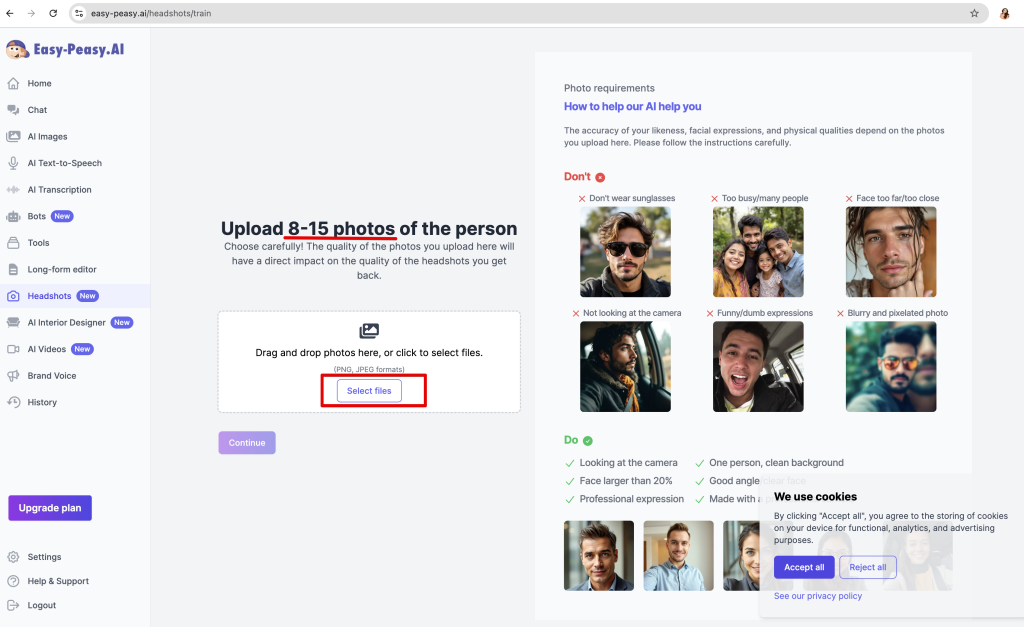
Step 5: Upload Photos
- On the Headshots Dashboard, team members need to upload 8-15 photos to create their AI-generated headshots.
- Tip: Choose photos you like and ensure they are from the same time period for consistent results.
- Click Upload Photos to start the process.
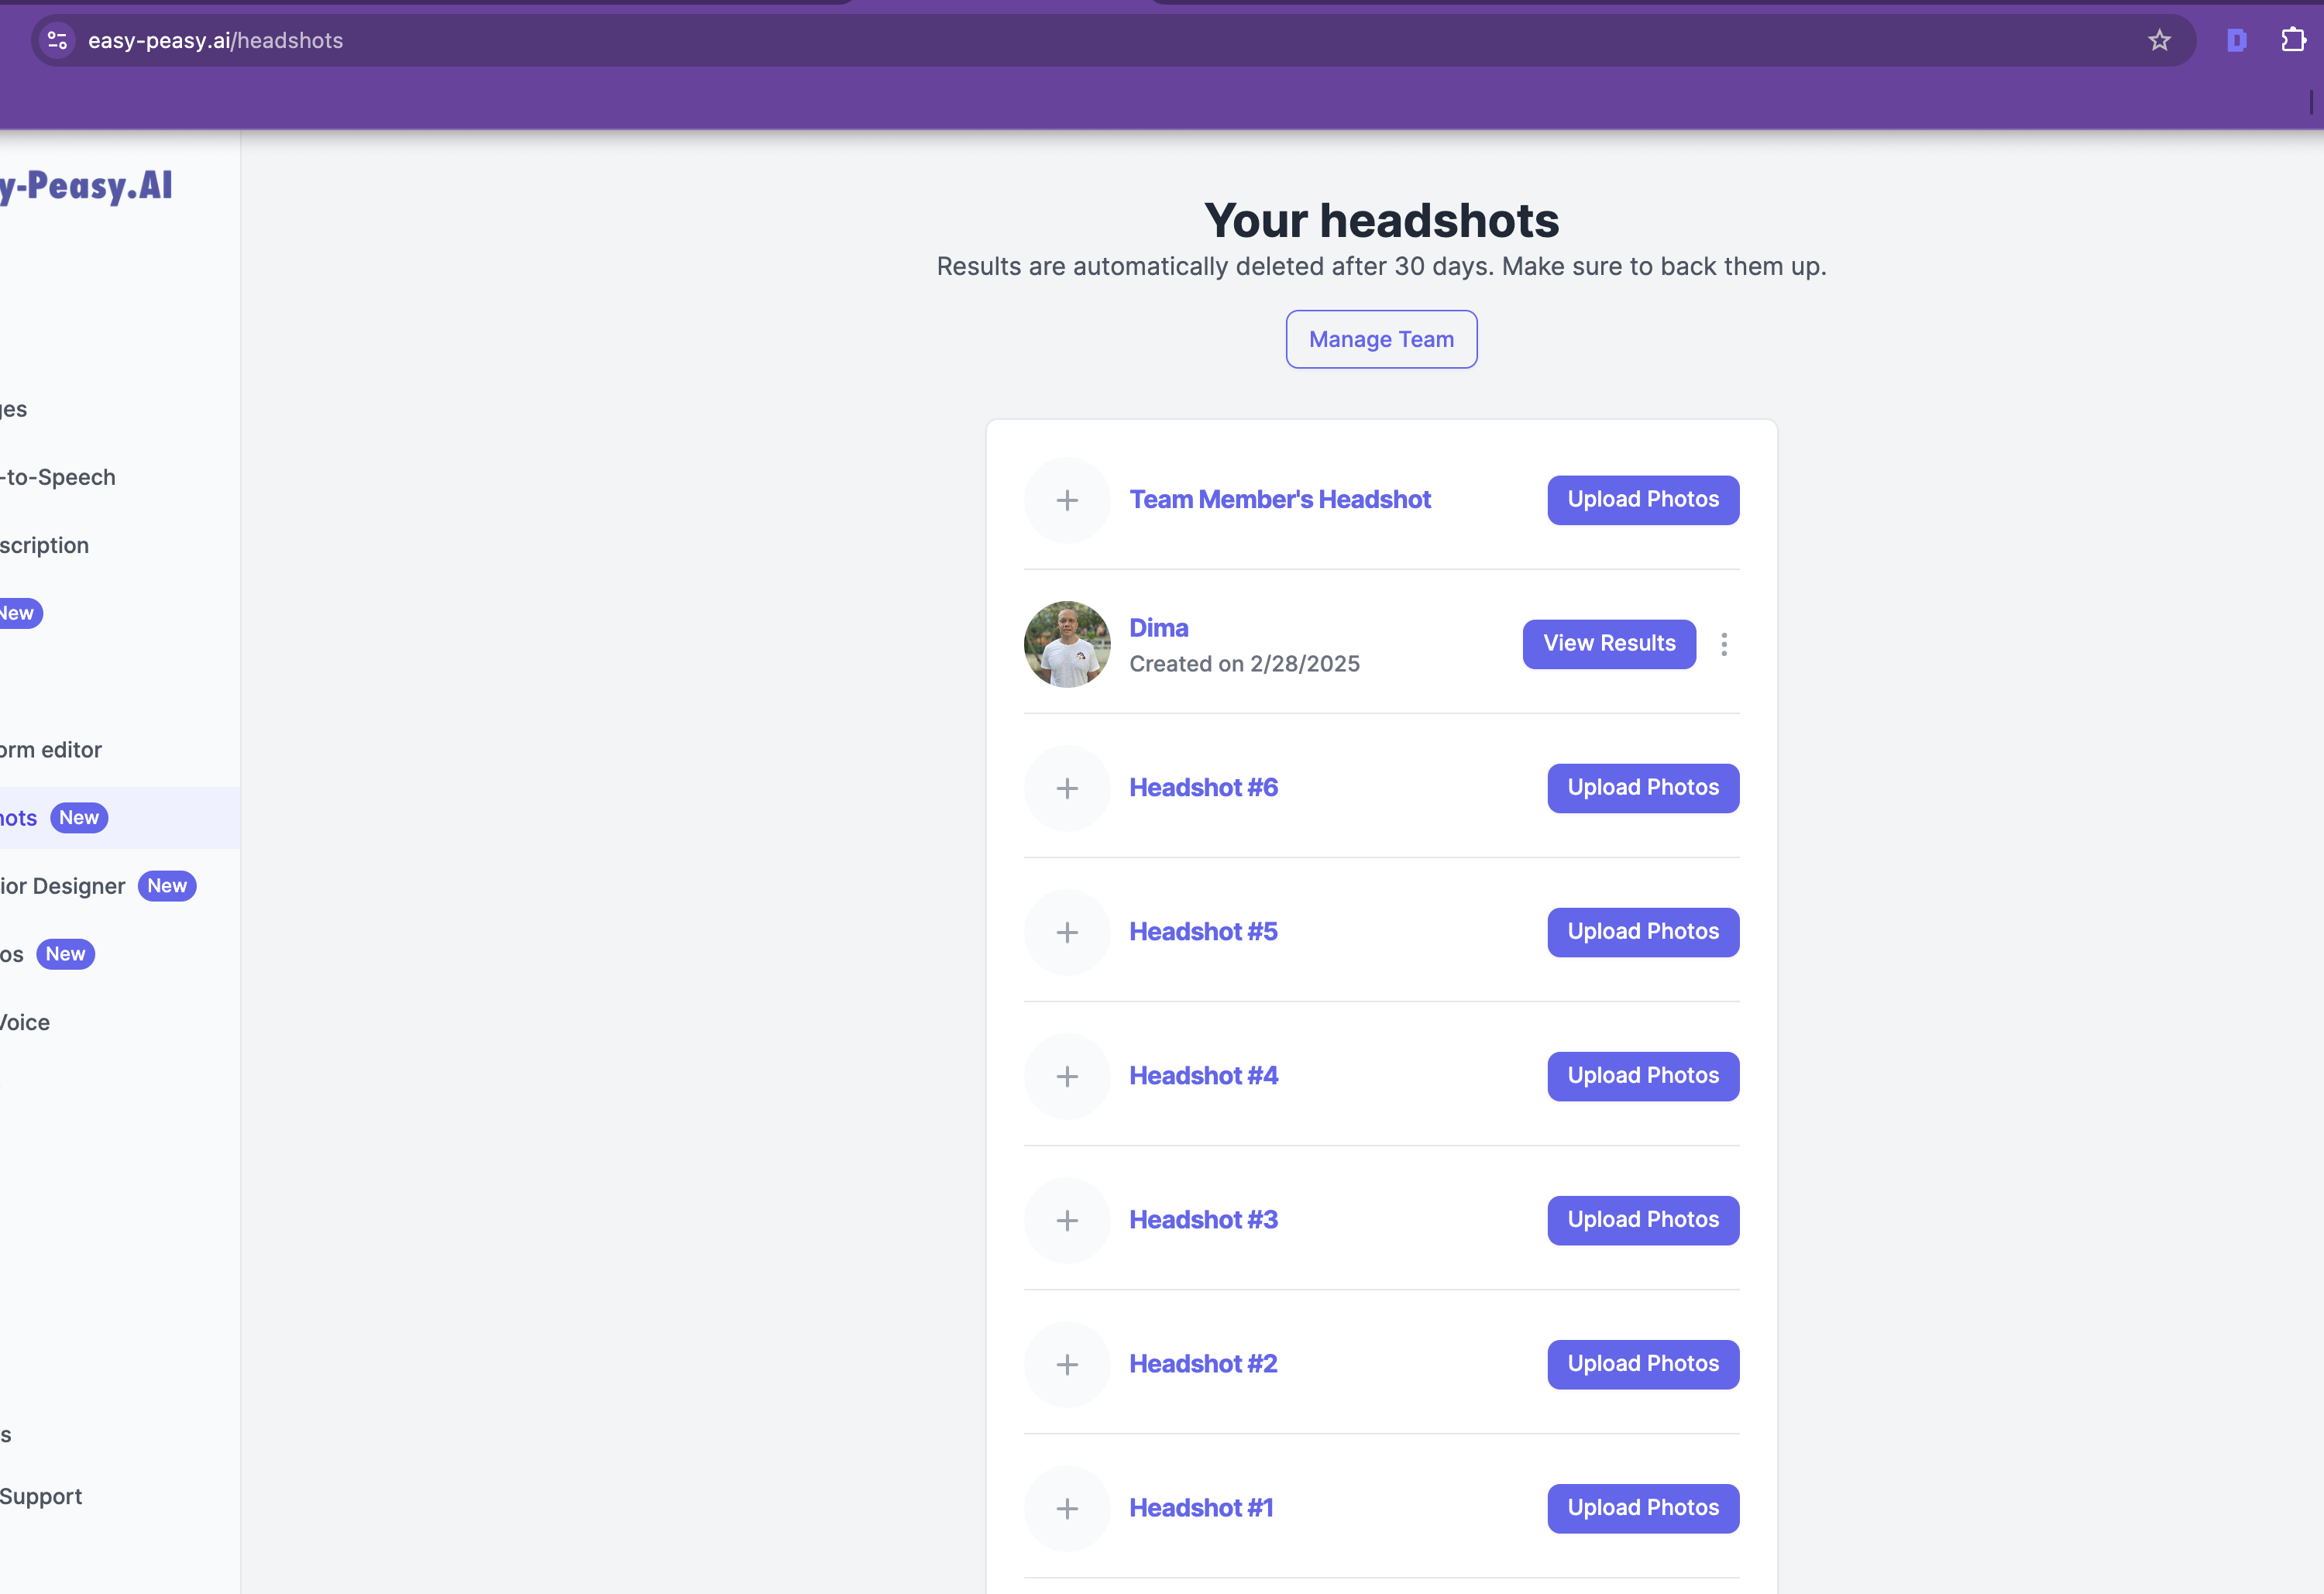
Step 6: Team Leader Can Upload Photos for Members
As the team leader, you can also upload photos on behalf of your team members if it’s more convenient for managing the process.
- Go to the Headshots Dashboard.
- Select the team member’s profile and click Upload Photos.
- Upload 8-15 photos for the selected member.
This feature is especially useful for ensuring consistency and saving time when managing multiple team members.
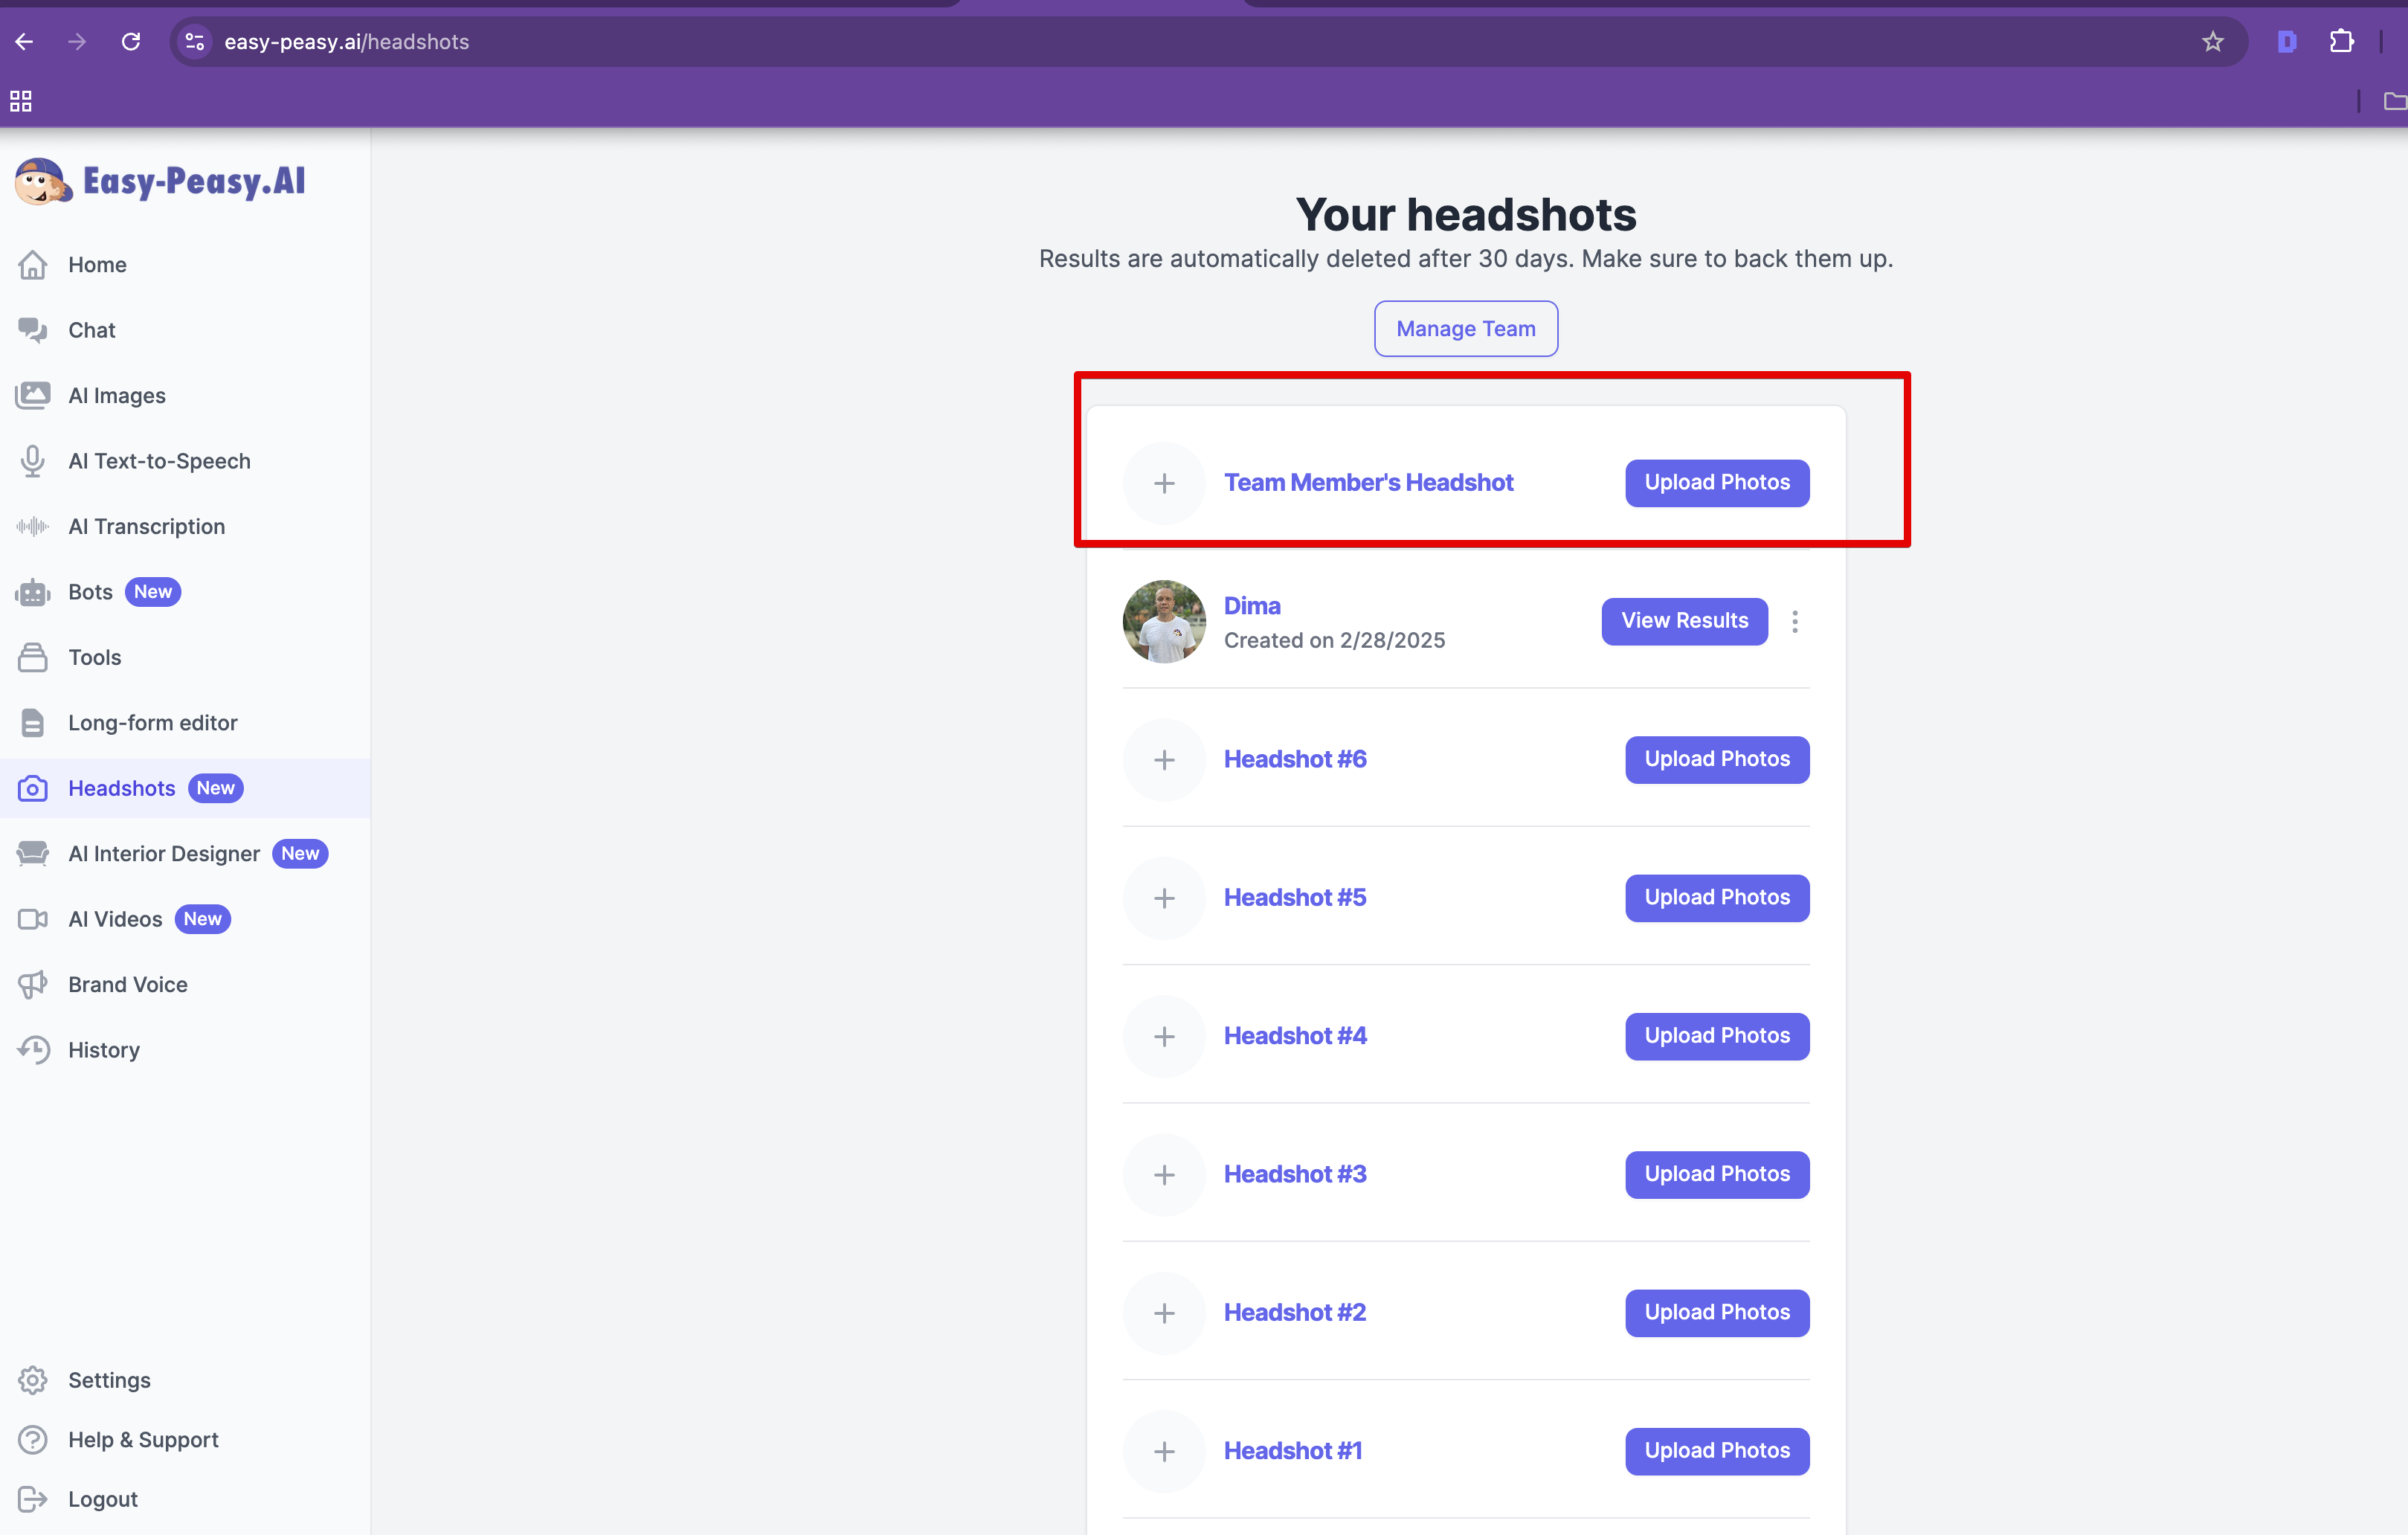
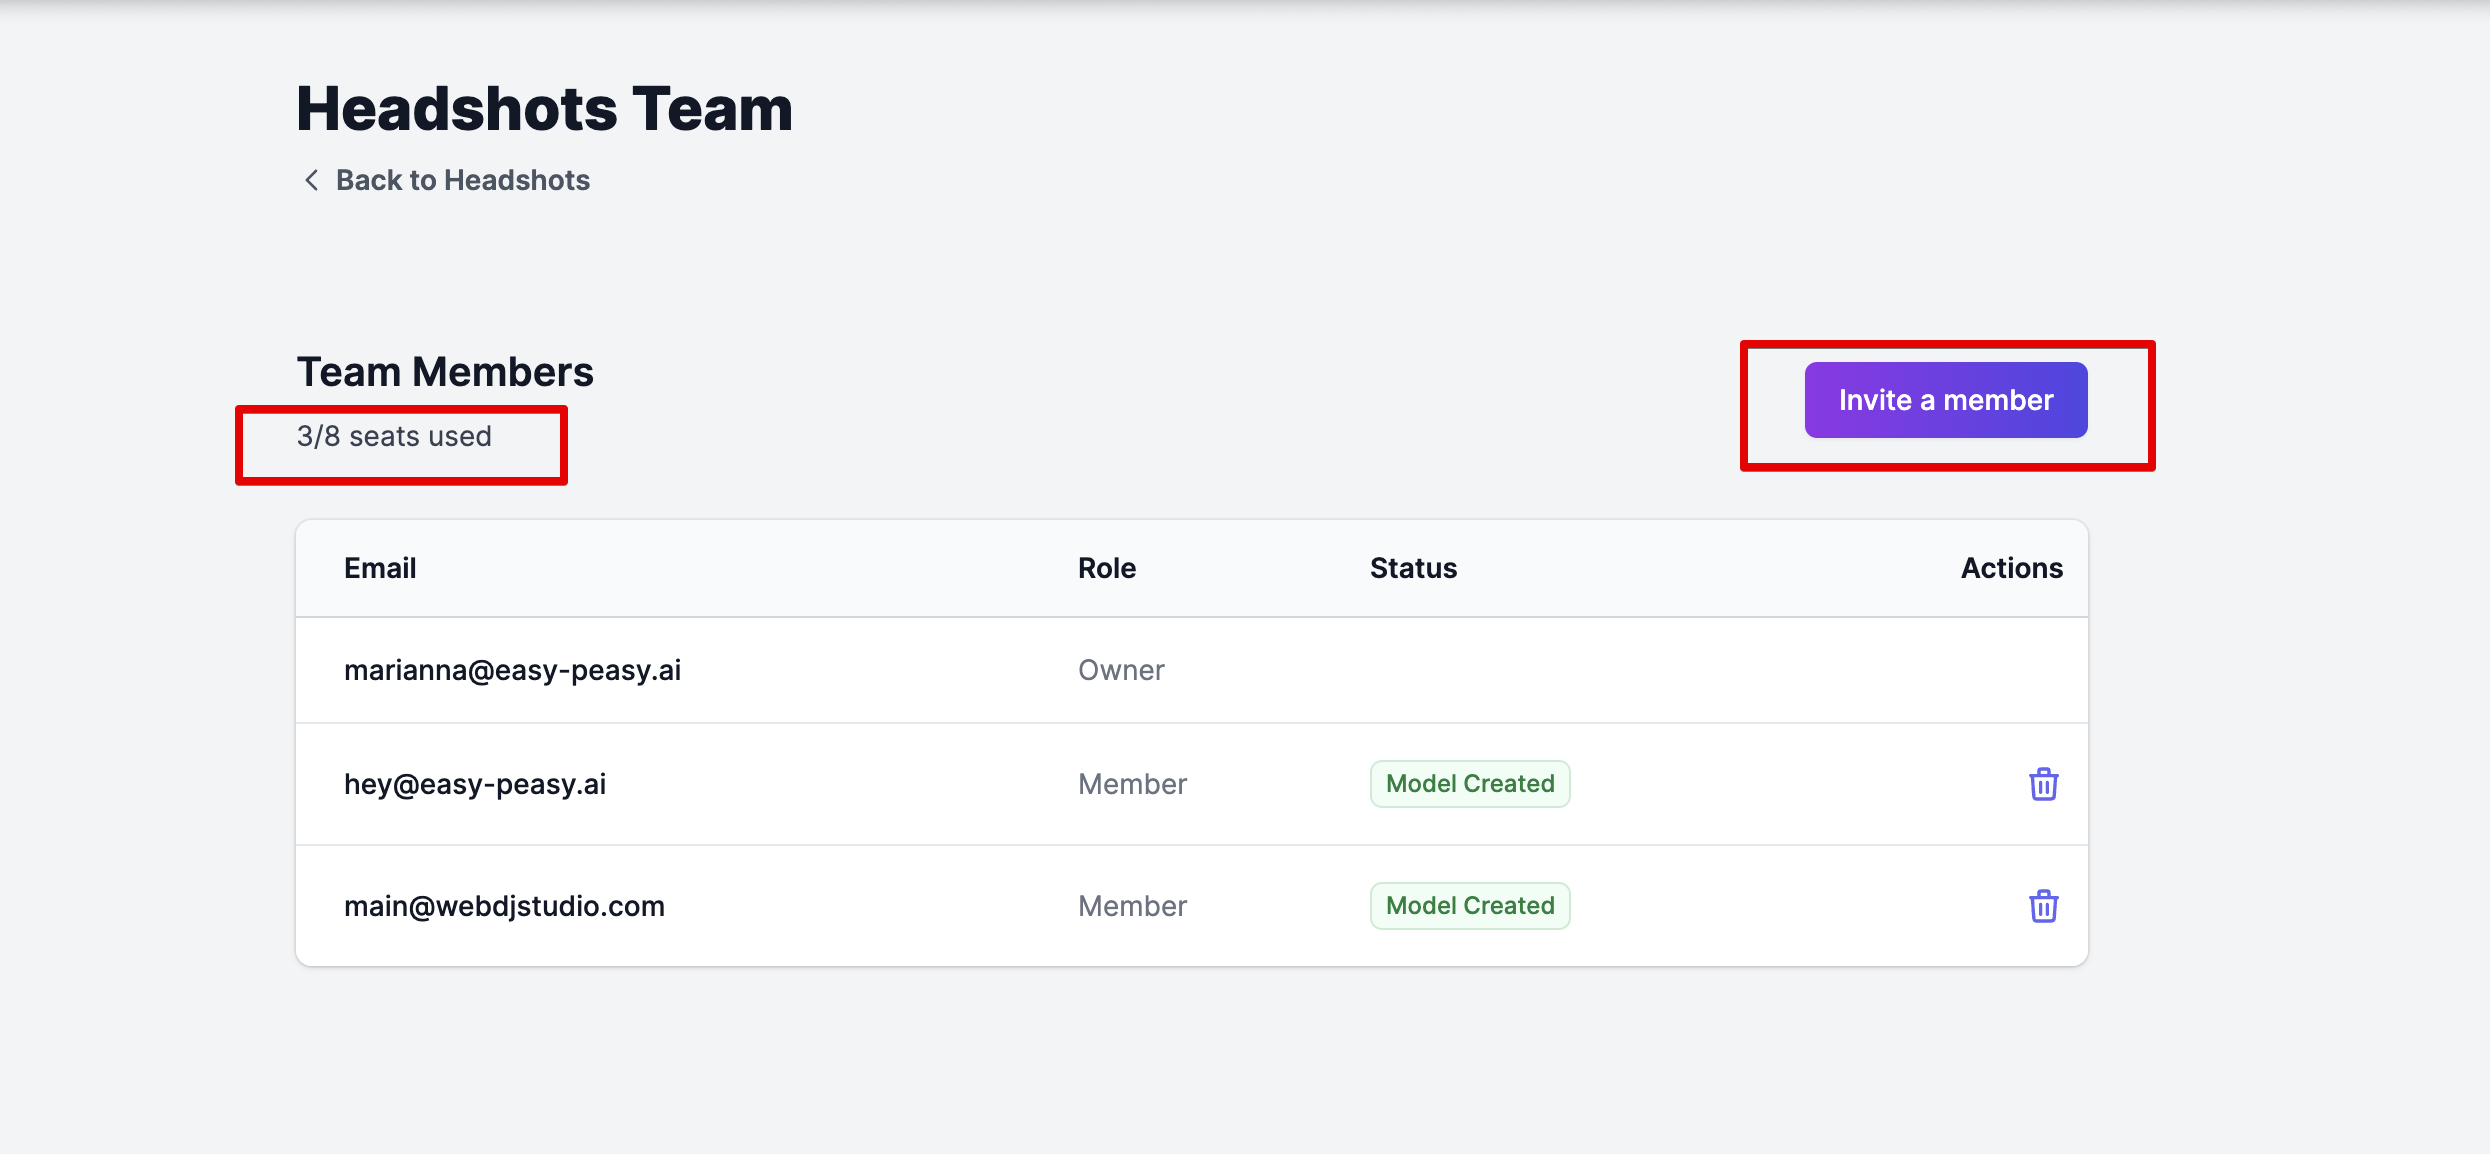
Step 7: Manage Team
- As the team leader, you can manage the team by clicking Manage Team in the Headshots section.
- View the list of team members, their roles, and the status of their headshot models.
- You can also remove members or invite additional members if seats are available.
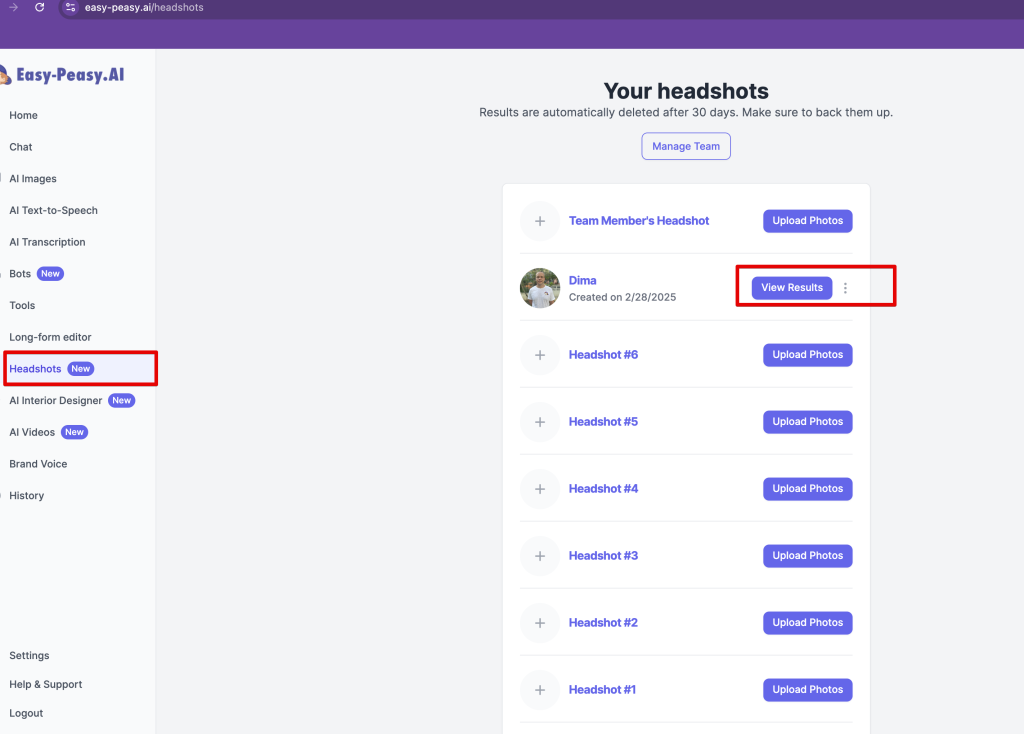
Step 8: View and Download Headshots
- Once the headshots are generated, team members can view their results by clicking View Results in the Headshots section.
- Download the headshots and save them before they are automatically deleted after 30 days.
Benefits of the Headshots Team Feature
- For Teams: Access up to 180 professional headshots per member.
- For Team Leaders: Save time and money by managing all headshots in one place.
- Convenience: Easy-to-use interface for inviting members and managing headshots.
Feel free to reach out with any questions or share your success stories using Easy-Peasy.AI.